
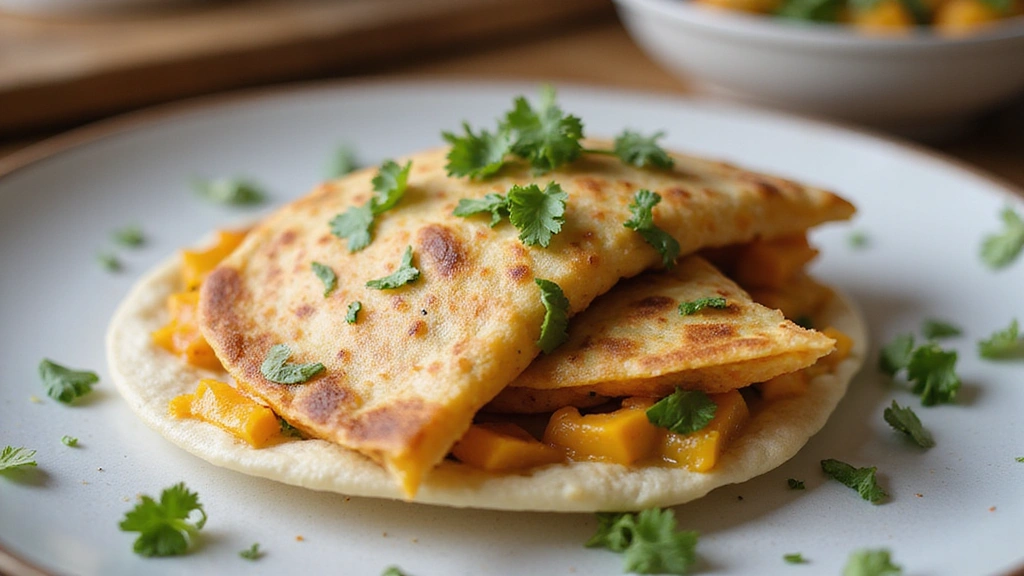
When it comes to crafting a lunch that appeals to kids, few dishes are as universally loved as the cheese quesadilla.
This simple yet satisfying creation combines the creamy richness of melted cheese with the comforting crunch of a perfectly toasted tortilla.
It’s a dish that brings together the familiar flavors of childhood with a touch of culinary magic.
I first fell in love with quesadillas on a family trip to Mexico, where I was amazed by the variety of cheese and fillings available.
Whether you’re packing a lunchbox or serving up a quick snack, this recipe promises to be a hit.
With just five minutes of preparation, you can create a delightful meal that will have kids asking for seconds.
The History and Cultural Significance
• Kid-Approved Lunch in traces its origins to Mexico, where it was originally created by indigenous peoples using local ingredients.
• The dish evolved over decades as cheese and wheat tortillas became more widely available, eventually becoming the beloved version we know today.
• In Mexican culture, this dish traditionally appears at casual gatherings, symbolizing comfort and simplicity.
• While many variations exist across different regions, the authentic version maintains a focus on simple ingredients and quick preparation that sets it apart from imitations.
Recommended Products

One 16-ounce bag of Shredded Queso Quesadilla Cheese

Serving Size (1) Tortilla: 90 Calories
Recipe Overview
Recommended Products

Non-Toxic Granite Coating - ESLITE LIFE nonstick crepe pan free of PTFE & PFOA, lead, cadmium and other toxic materials that can leach into your food, making them safe for you, your family and the environment.

【Eco-Friendly Granite Coating】Innerwell crepe pan has superior nonstick performance. During cooking, even if less oil, it makes the foods slide over smoothly from the surface of dosa pan without effort, brings us A less oil, smokeless and healthy diet life. The granite crepe pan gets SGS approved, non-toxic, PFOA free

Portable, Lightweight Griddle Pan--- The 8 inch grill pan is 0.5 pound (230 grams), with a detachable wooden handle. You can easily store the flat pan in your backpack, camping bags and take it on the go. The flat grill pan is ideal for camping, griddle, BBQ, outdoor cooking.
Nutritional Information (per serving)
Recommended Products

Stainless Steel Spatula: This commercial grade metal spatula is made of high quality stainless steel, thickened for burger pressing, durable & food safe.

Premium Heat-Resistant & Nonstick-Safe Construction Crafted with food-grade silicone and reinforced with a stainless steel core, this wide spatula for cooking resists high heat without melting, warping, or deforming—perfect for cooking at high temperatures. The smooth, soft silicone head is safe to use with all nonstick cookware and won’t scratch or damage your pans
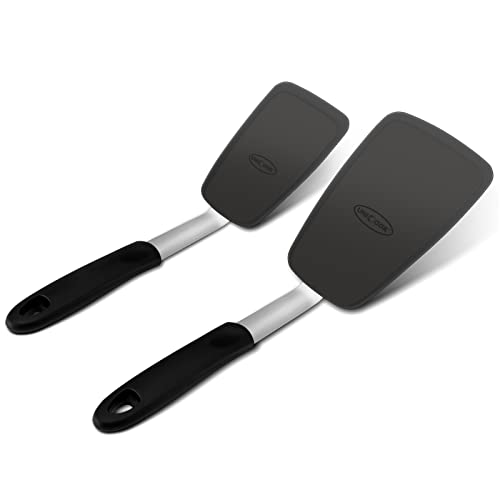
2-Piece Silicone Spatula Set (Small & Large): Includes a small spatula (12"L x 3"W with 3" x 4.75" blade) for delicated tasks and a large spatula (13"L x 4"W with 4" x 6" blade) for heavy-duty cooking. The spatula head is made of food-grade silicone and is heat resistant to 600°F
Essential Equipment Guide
Non-stick Skillet: This tool is crucial for achieving the perfect golden-brown tortilla without sticking. Alternatives like a cast-iron skillet can work, but a non-stick surface is ideal for beginners.
Spatula: A wide, heat-resistant spatula is important for flipping the quesadilla without tearing it. Look for one with a thin edge to easily slide under the tortilla.
Cheese Grater: Freshly grated cheese melts more evenly and quickly, enhancing the texture and flavor of the quesadilla. A box grater with a medium-sized grate is perfect.
Ingredients
For the Base
|
| Amount | Ingredient | Notes |
|---|---|---|
| 4 medium | flour tortillas | provides the crispy base |
| 2 cups | shredded cheese | use a mix of cheddar and mozzarella for optimal melt |
Seasonings
| Amount | Ingredient | Notes |
|---|---|---|
| 1 teaspoon | butter | for greasing the skillet and adding flavor |
Preparation Methods
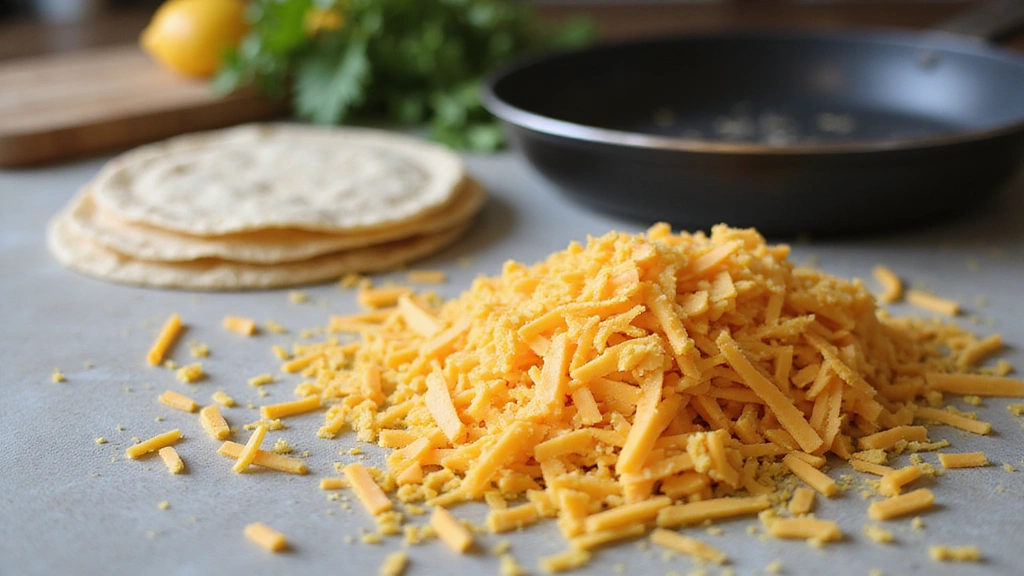
Cheese Selection and Grating: Choosing the right cheese is crucial for flavor and texture. Opt for a blend of cheddar and mozzarella to achieve a balance of sharpness and meltability. Always grate cheese fresh to prevent clumping and ensure even melting.
Heating the Skillet: Preheating the skillet is essential for achieving a crispy tortilla. Start on medium heat and allow the skillet to warm for a few minutes before adding butter to prevent burning.
Flipping Technique: Mastering the flip is key to a well-cooked quesadilla. Use a wide spatula, and gently slide it under the tortilla before flipping swiftly to avoid spilling the filling.
Step 1: Prepare Ingredients
Gather all necessary ingredients and equipment.
Grate the cheese if not pre-shredded.
Lay out the tortillas on a clean surface.
Ensure the skillet is ready for use.
Step 2: Preheat the Skillet
Place the non-stick skillet on medium heat.
Allow it to warm for about 2 minutes.
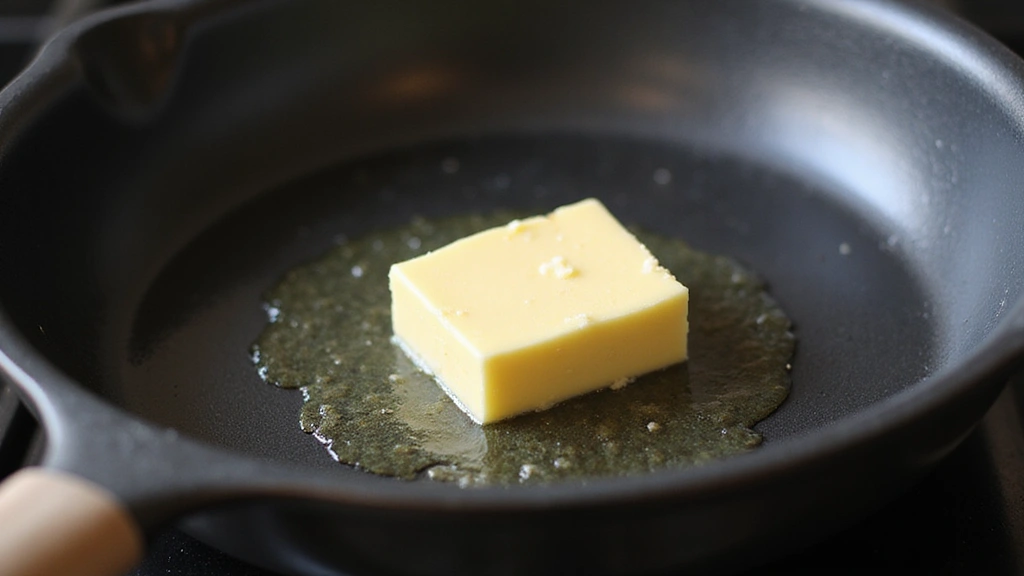
Add a small amount of butter and let it melt.
Swirl the butter around to coat the skillet evenly.
Step 3: Assemble the Quesadilla
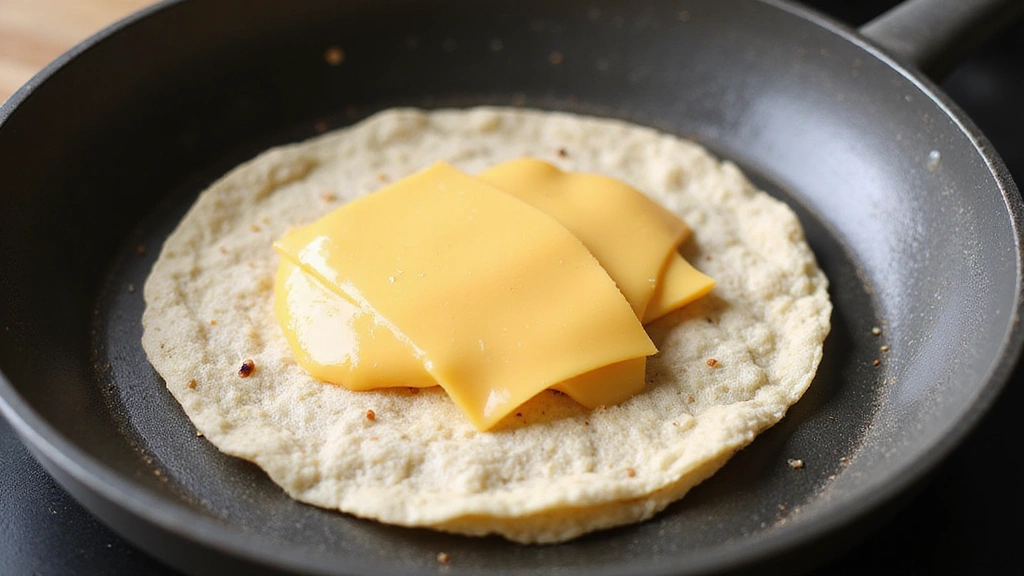
Place one tortilla into the skillet.
Evenly spread 1/2 cup of grated cheese over the tortilla.
Top with a second tortilla, pressing gently.
Ensure the cheese is distributed to the edges.
Step 4: Cook the First Side
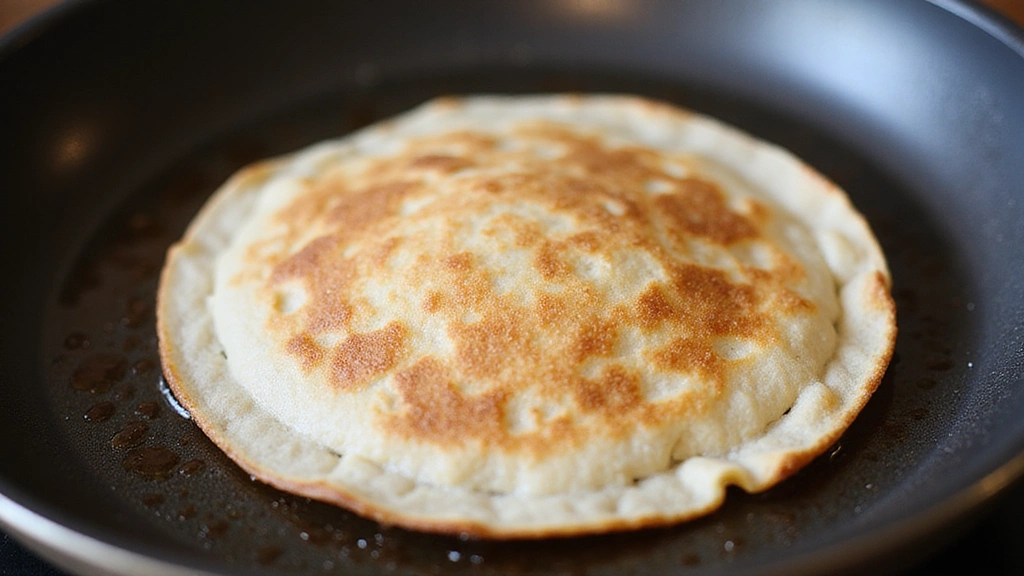
Allow the quesadilla to cook for 2-3 minutes.
Check for a golden-brown color on the bottom tortilla.
Adjust the heat if necessary to prevent burning.
The cheese should start to melt and bind the tortillas.
Step 5: Flip the Quesadilla
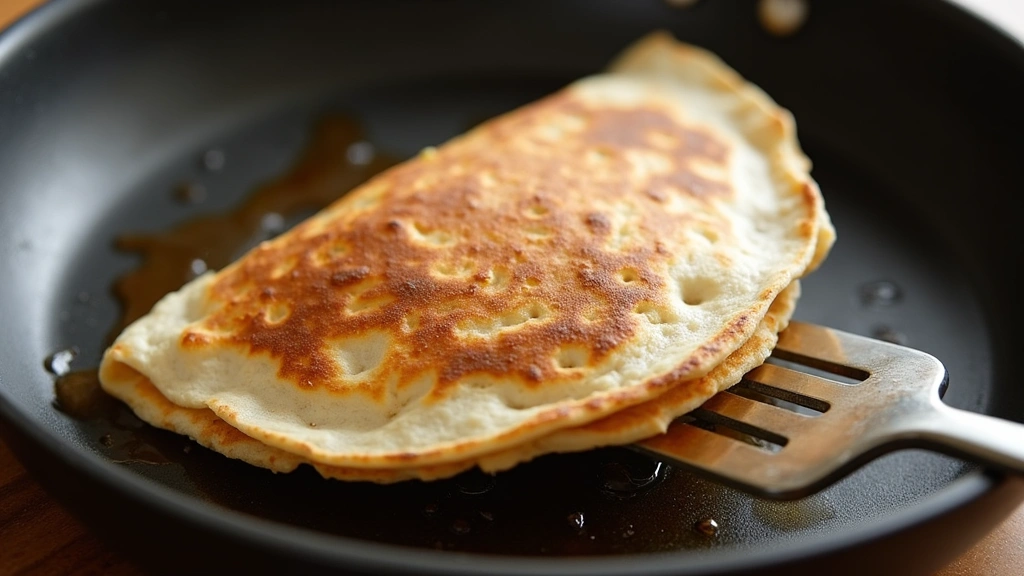
Using a spatula, gently lift one edge of the quesadilla.
Slide the spatula underneath and flip it over quickly.
Cook the second side for another 2-3 minutes.
Ensure the cheese is fully melted and bubbly.
Step 6: Remove and Slice
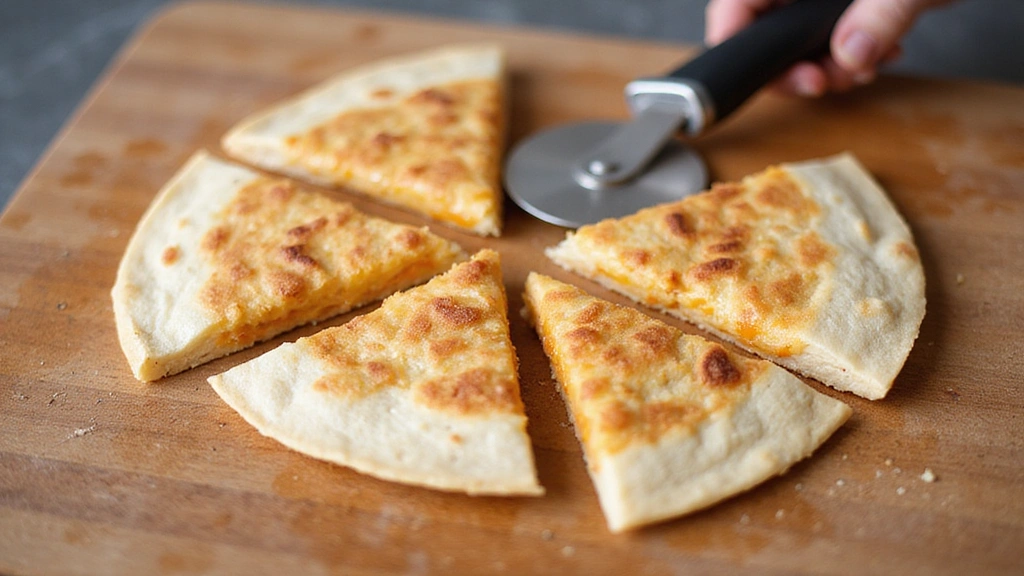
Once cooked, remove the quesadilla from the skillet.
Place it on a cutting board to cool slightly.
Use a sharp knife or pizza cutter to slice into wedges.
Ensure even slices for easy serving.
Step 7: Serve Warm
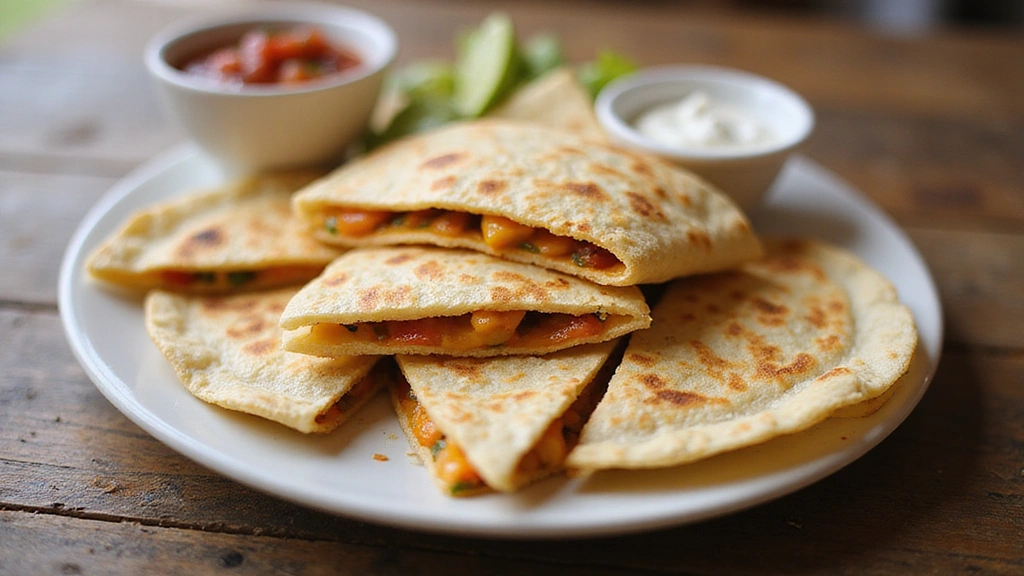
Arrange the quesadilla slices on a serving plate.
Garnish with optional toppings like salsa or sour cream.
Serve immediately for the best texture and flavor.
Encourage kids to dip their slices into their favorite sauces.
Step 8: Clean Up
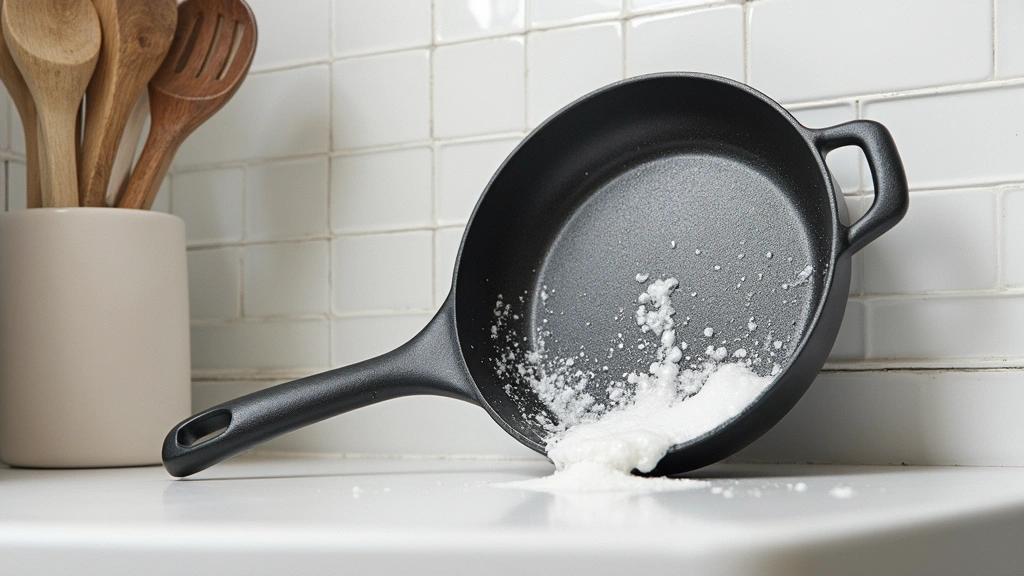
Wipe the skillet with a paper towel once it has cooled.
Store any leftover cheese in an airtight container.
Wash and dry all utensils used in preparation.
Ensure the cooking area is clean and ready for next use.
Critical Timing and Temperature Guide
Cooking the Tortilla: Ensure the skillet is at medium heat; cooking each side for 2-3 minutes until golden brown. Avoid high heat to prevent burning and achieve even cooking.
Melting the Cheese: The cheese should be fully melted and slightly bubbly; ensure it doesn’t burn by adjusting the heat if necessary. Visual indicators include cheese oozing slightly from the edges.
Resting the Quesadilla: Allow the quesadilla to rest for 1 minute before slicing. This ensures the cheese sets slightly, making it easier to cut without spilling.
Pro Tips for Kid-Approved Lunch in
• Ingredient Selection: Choose high-quality tortillas and cheese, as these are the stars of the dish. Opt for tortillas that are soft and fresh, and cheese that melts smoothly.
• Preparation Secret: Lightly buttering the skillet adds flavor and helps achieve a perfect golden crust; don’t skip this step.
• Temperature Management: Ensure the skillet is at the right temperature before adding the tortilla; this prevents sogginess and enhances crispness.
• Texture Enhancement: For a crispy texture, ensure the skillet is fully preheated before adding the tortilla.
• Flavor Layering: Adding a pinch of salt or spices to the cheese before cooking can enhance flavor complexity.
• Make-Ahead Strategies: Prepare and store grated cheese in advance; it can be kept in the refrigerator for up to one week.
• Restaurant-Quality Finishing Touches: Garnish with fresh herbs like cilantro for a pop of color and flavor.
• Equipment Optimization: Use a non-stick skillet for best results, but if unavailable, a well-seasoned cast iron pan can also work.
Troubleshooting Common Issues
• Tortilla Too Soggy: Overloading with cheese or not preheating the skillet enough can cause sogginess. Ensure proper heat and balance cheese quantity for optimal results.
• Cheese Not Melting: This often happens if the heat is too low. Adjust the heat and cover the skillet briefly to help cheese melt evenly.
• Quesadilla Falling Apart: This occurs if the cheese isn’t evenly distributed or if the flip is too forceful. Practice gentle flipping and ensure even cheese spread.
• Tortilla Burning: Cooking on too high heat or not monitoring closely can cause burning. Use medium heat and keep a close eye on the quesadilla.
• Uneven Cooking: This can be due to uneven heat distribution or not rotating the quesadilla. Rotate the skillet occasionally for even cooking.
Variations and Regional Differences
• Mexican Style: Traditional Mexican quesadillas often include Oaxaca cheese and can feature fillings like mushrooms or squash blossoms.
• American Style: Often includes additional fillings like chicken or beef, and uses Monterey Jack cheese for a creamy texture.
• Tex-Mex Style: Incorporates ingredients like jalapeños and uses flour tortillas, often accompanied by salsa and sour cream.
• Vegetarian Variation: Includes vegetables like bell peppers and onions for added nutrition and flavor, often paired with a spicy cheese.
Food Science Behind the Recipe
• Maillard Reaction: This chemical reaction between amino acids and reducing sugars gives the tortilla its golden-brown color and enhances flavor.
• Protein Coagulation: As the cheese heats, the proteins coagulate, creating a stretchy, melted texture that binds the tortillas together.
• Thermal Conductivity: A non-stick skillet ensures even heat distribution, preventing hot spots that can cause uneven cooking.
Frequently Asked Questions
What's the most common mistake people make when preparing cheese quesadillas? The most common mistake is cooking at too high a heat, which can cause the tortillas to burn before the cheese melts.
Can I use corn tortillas instead of flour? Yes, corn tortillas can be used, but they may not hold together as well; they offer a different flavor and texture.
How do I prevent the quesadilla from sticking? Ensure the skillet is properly greased with butter and preheated to prevent sticking.
What is the best cheese to use? A blend of cheddar and mozzarella is recommended for a balance of flavor and meltability.
How can I make this dish healthier? Use whole wheat tortillas and a reduced-fat cheese to lower calories and increase fiber.
Can I add meat to the quesadilla? Yes, cooked chicken or beef can be added for additional protein; ensure it's finely chopped for even distribution.
How do I store leftover quesadillas? Store in an airtight container in the refrigerator for up to two days; reheat in a skillet for best results.
Serving and Presentation Guide
• Traditional Presentation: Serve sliced quesadillas on a simple plate with small bowls of salsa and sour cream on the side.
• Party Platter: Arrange wedges on a large tray, garnished with fresh cilantro and lime wedges for a festive look.
• Lunchbox-Friendly: Pack slices in a compartmented lunchbox with a small container of dipping sauce.
• Elegant Appetizer: Serve mini quesadilla triangles on a platter with toothpicks for easy grabbing.
Conclusion
Creating a kid-approved lunch has never been easier than with this simple cheese quesadilla recipe.
With just a few ingredients and minimal prep time, you can serve a delicious meal that everyone will love.
So gather your ingredients and give this recipe a try; your taste buds will thank you.