
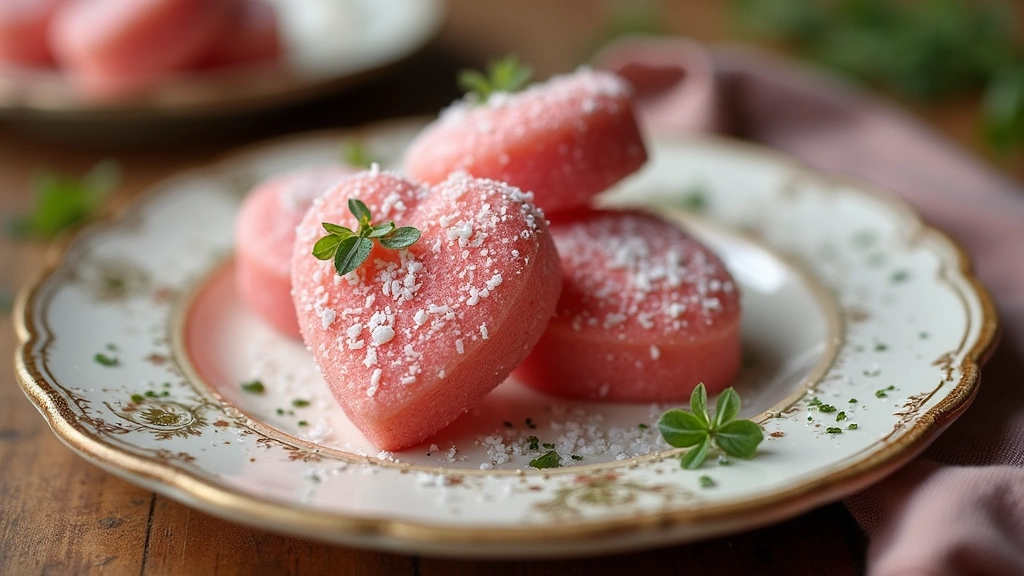
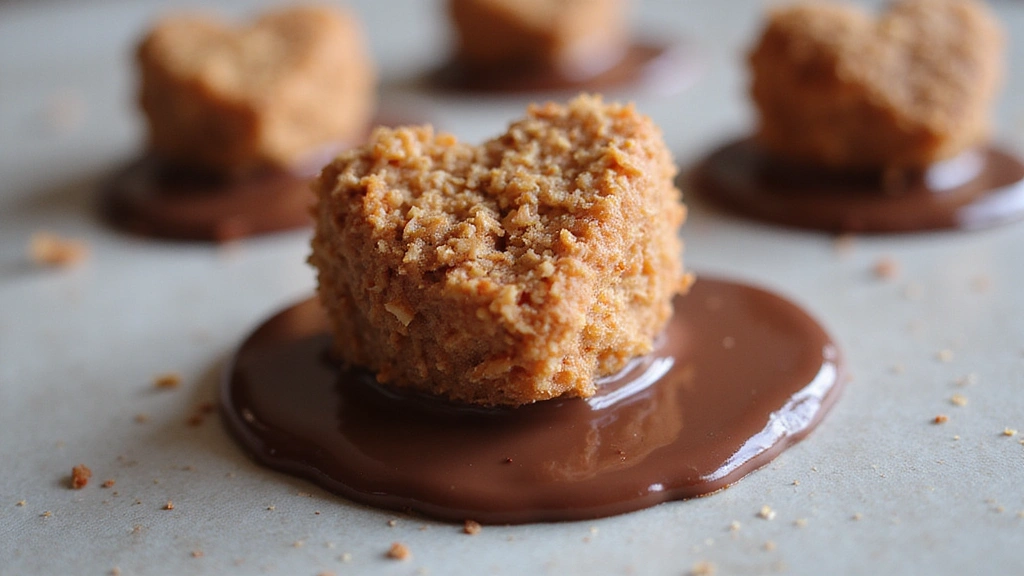
Imagine biting into a heart-shaped confection that blends the tropical sweetness of coconut with a hint of creamy decadence.
These Coconut Hearts Candy are not only a treat for the taste buds but also a visual delight that’s perfect for gifting.
I first stumbled upon these candies during a summer festival, where their unique flavor and charming appearance caught my attention.
The combination of coconut and sweetness captures the essence of a tropical escape, perfect for any time of the year.
Whether you’re looking to surprise a loved one or indulge yourself, these candies are sure to become a favorite.
Contents
- The History and Cultural Significance
- Recipe Overview
- Nutritional Information (per serving)
- Essential Equipment Guide
- Ingredients
- Preparation Methods
- Step 1: Gather and Prepare Ingredients
- Step 2: Mix Ingredients
- Step 3: Shape the Candies
- Step 4: Chill the Molded Mixture
- Step 5: Melt the Chocolate
- Step 6: Coat the Candies
- Step 7: Set the Chocolate
- Step 8: Serve or Package
- Critical Timing and Temperature Guide
- Pro Tips for Viral Trend Alert!
- Troubleshooting Common Issues
- Variations and Regional Differences
- Food Science Behind the Recipe
- Frequently Asked Questions
- Serving and Presentation Guide
Recommended Products
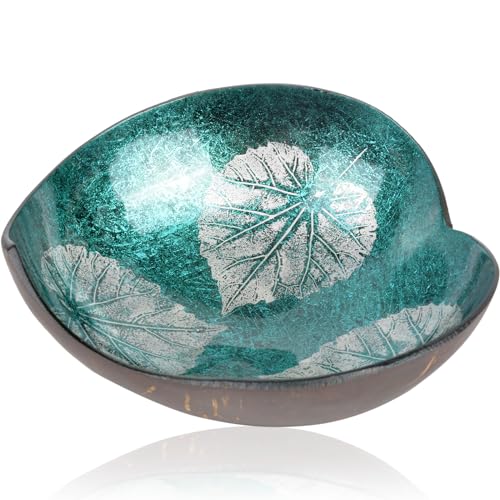
★Versatile Heart-Shaped Coconut Bowl: This bowl serves both decorative and practical purposes. Perfect for enhancing room or table decor, it can be filled with ornaments or used for storing fruits, salads, and candies. Additionally, our storage bowl can also hold paperclips, jewelry, or keys for entryway tables, dressing tables, or work desks. The versatile heart-shaped coconut bowl keeps your workspace organized and adds an elegant touch to your office desk with its unique design.

VALENTINE'S DAY THEMED DESIGN – These charming heart-shaped treats are perfectly suited for the season of love. Wrapped in a mix of shimmering pink and silver foils, they add a festive and romantic touch to any celebration or gift.

Mothers Day Candy: Discover a blend of flavor with our heart shaped jelly beans! Blending crunchy-licious and chewy-licious goodness; these chewy gluten free treats burst with joy, combining sweet textures and vibrant colors for fun, sharing & spreading love
The History and Cultural Significance
• Viral Trend Alert! traces its origins to Southeast Asia, where it was originally created by local artisans using fresh coconut.
• The dish evolved over decades as coconut harvesting and candy-making techniques advanced, eventually becoming the beloved version we know today.
• In many Asian cultures, this dish traditionally appears at festivals and celebrations, symbolizing prosperity and sweetness in life.
• While many variations exist across different regions, the authentic version maintains a chewy texture and rich coconut flavor that sets it apart from imitations.
Recipe Overview
Recommended Products

TROPICAL COCONUT CRUNCH – Classic coconut hard candy bursting with island-inspired sweetness; roughly 180 individually wrapped pieces in every 2-lb bulk bag for generous sharing

Ultimate Care Package - This variety bundle includes 10 our best, most popular Li Hing Mui!
Nutritional Information (per serving)
Essential Equipment Guide
Baking Sheet: A non-stick baking sheet is essential for cooling and setting the candies. Alternatives include a silicone mat or parchment paper, both of which prevent sticking.
Mixing Bowl: A large mixing bowl helps combine the ingredients evenly. Look for a bowl with a non-slip base to ensure stability during mixing.
Heart-Shaped Molds: These molds give the candies their distinctive shape. Silicone molds are preferred for easy release, but metal molds can be used with a light coating of oil.
Ingredients
For the Base
|
| Amount | Ingredient | Notes |
|---|---|---|
| 2 cups | shredded coconut | unsweetened for authentic flavor |
| 1 cup | sweetened condensed milk | binds ingredients |
| 1 teaspoon | vanilla extract | adds depth of flavor |
For Coating
| Amount | Ingredient | Notes |
|---|---|---|
| 1 cup | chocolate chips | melted for dipping |
| 1 teaspoon | coconut oil | smooths the chocolate |
Preparation Methods
Molding: This technique involves pressing the coconut mixture into molds to shape the candies. It's crucial for achieving the distinctive heart shape and ensures even distribution of the mixture.
Chocolate Tempering: Melting chocolate with coconut oil creates a glossy, smooth coating. Proper tempering prevents the chocolate from becoming dull or crumbly.
Cooling: Once coated, the candies need to cool at room temperature or in the fridge. This step is vital for setting the shape and texture of the candies.
Step 1: Gather and Prepare Ingredients
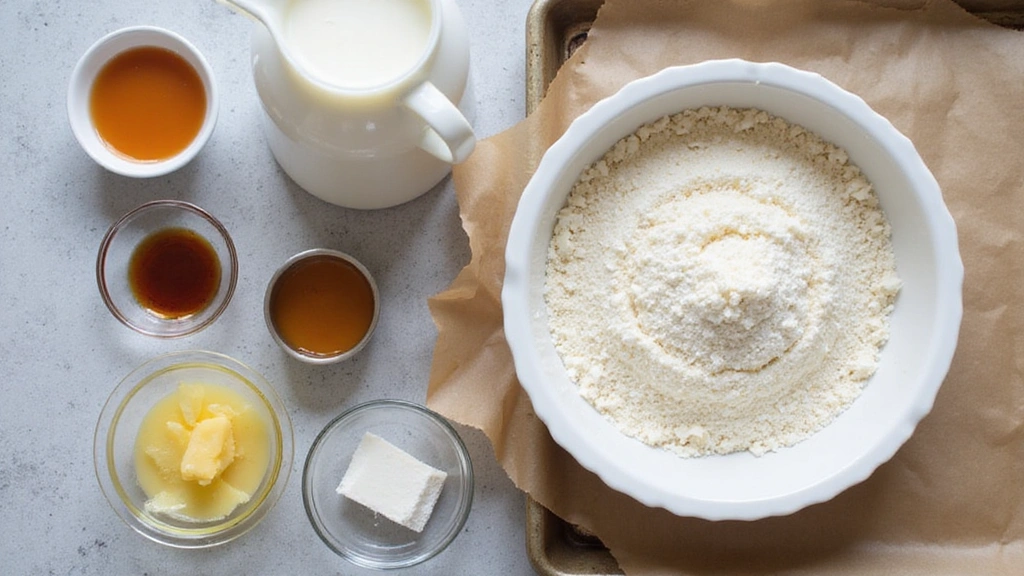
Measure out shredded coconut, sweetened condensed milk, and vanilla extract.
Ensure all ingredients are at room temperature for easy mixing.
This prevents any clumping and ensures a smooth mixture.
Prepare a baking sheet lined with parchment paper for later use.
Step 2: Mix Ingredients
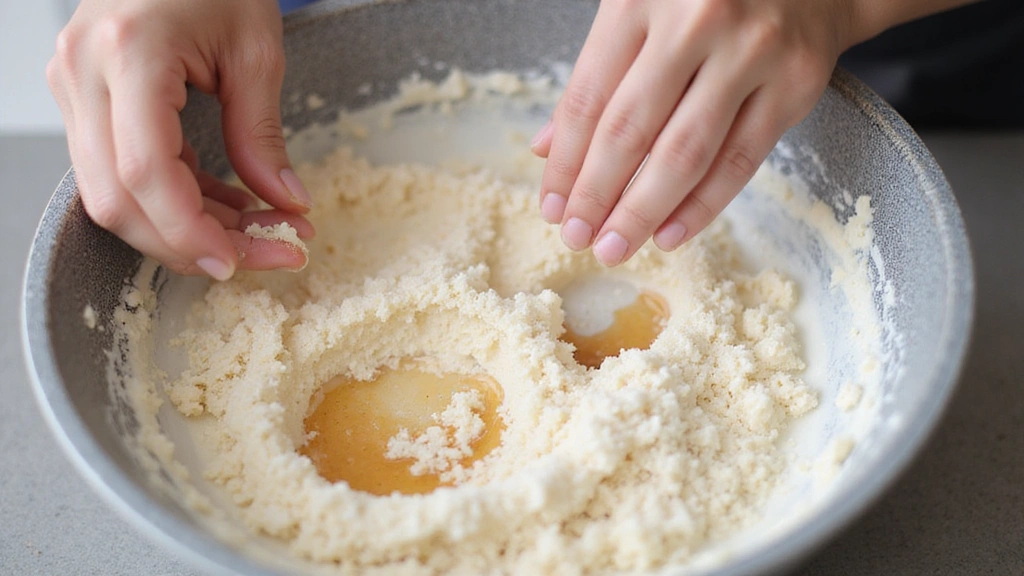
In a large mixing bowl, combine the shredded coconut, sweetened condensed milk, and vanilla extract.
Stir until the mixture is well combined and holds together.
The mixture should be sticky and cohesive, indicating it's ready to mold.
If too dry, add a little more condensed milk until the desired consistency is achieved.
Step 3: Shape the Candies

Spoon the mixture into heart-shaped molds, pressing firmly to ensure they're packed tight.
Smooth the top of the mixture with a spatula or the back of a spoon.
Ensure that there are no air pockets by pressing down firmly.
This helps maintain the shape once removed from the mold.
Step 4: Chill the Molded Mixture
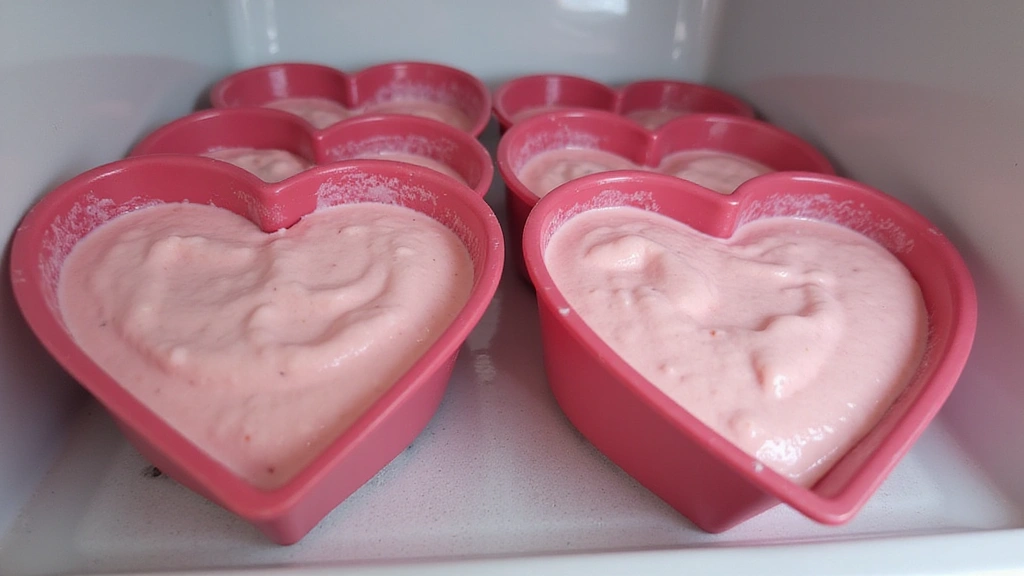
Place the filled molds in the refrigerator for about 10 minutes to firm up.
This chilling helps the candies hold their shape during coating.
Ensure the mixture is firm to the touch before proceeding.
If not firm, chill for an additional 5 minutes.
Step 5: Melt the Chocolate
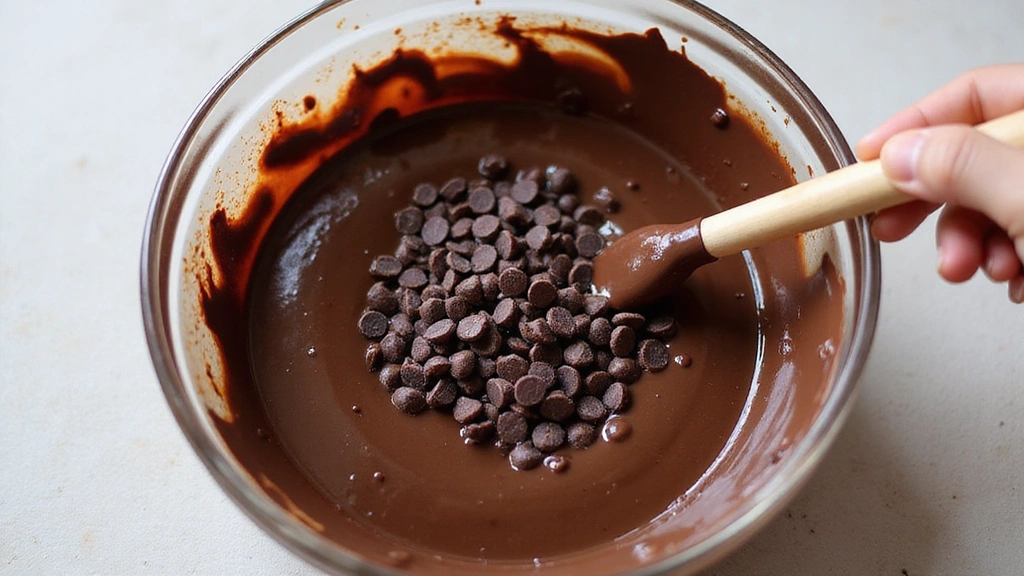
In a microwave-safe bowl, combine chocolate chips and coconut oil.
Microwave in 30-second intervals, stirring in between, until fully melted and smooth.
The chocolate should be glossy and have a smooth consistency.
Avoid overheating to prevent the chocolate from seizing.
Step 6: Coat the Candies
Remove the coconut hearts from the molds carefully.
Dip each heart into the melted chocolate, ensuring it's fully covered.
Let excess chocolate drip off before placing on a lined baking sheet.
This ensures a thin, even coating without pooling.
Step 7: Set the Chocolate

Place the chocolate-coated hearts back on the parchment-lined baking sheet.
Allow them to set at room temperature or in the refrigerator.
The chocolate should harden and form a shiny shell.
Check that the chocolate is firm to the touch before serving.
Step 8: Serve or Package
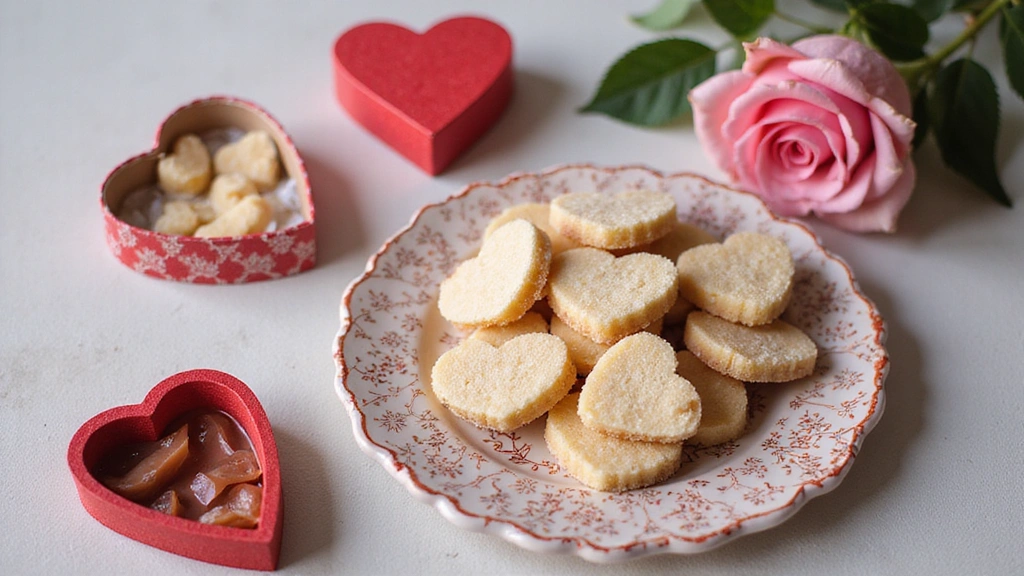
Once set, transfer the candies to a serving plate or package them as gifts.
For gifting, use decorative boxes or bags with a ribbon.
Ensure candies are completely set to avoid smudging.
Store in a cool place to maintain the chocolate's integrity.
Critical Timing and Temperature Guide
Molding: Ensure the mixture is firm enough to hold its shape when pressed into molds. If too loose, adjust with more condensed milk.
Chocolate Melting: Melt chocolate at a low temperature to avoid seizing. Use a thermometer if needed to maintain a temperature below 90°F.
Cooling and Setting: Allow candies to cool at room temperature before refrigerating. Look for a glossy finish on the chocolate to ensure proper setting.
Pro Tips for Viral Trend Alert!
• Ingredient Selection: Choose high-quality unsweetened shredded coconut for the most authentic flavor and texture.
• Preparation Secret: Lightly toasting the coconut before mixing can enhance its natural flavor and add a subtle crunch.
• Temperature Management: Keeping the chocolate at a consistent temperature during coating prevents it from becoming dull.
• Texture Enhancement: Pressing the mixture firmly into the molds ensures a dense, chewy texture.
• Flavor Layering: Adding a pinch of sea salt to the chocolate enhances the sweetness of the coconut.
• Make-Ahead Strategies: Prepare the coconut base a day in advance and refrigerate, allowing flavors to meld.
• Restaurant-Quality Finishing Touches: Sprinkle a tiny amount of edible glitter on top of the chocolate for a festive touch.
• Equipment Optimization: Use a double boiler for melting chocolate to maintain even heat and prevent scorching.
Troubleshooting Common Issues
• Texture Too Dense: This can occur if the mixture is overpacked in the molds. Use a gentle hand and avoid pressing too hard.
• Chocolate Not Setting: Ensure that the chocolate is properly tempered. If it's too warm, it may not set correctly.
• Flavors Unbalanced: If the candy is too sweet, balance it with a pinch of salt or use unsweetened chocolate.
• Mixture Not Binding: If the coconut and milk mixture doesn't hold, add more condensed milk gradually until a sticky consistency is achieved.
• Chocolate Coating Uneven: Allow excess chocolate to drip off before placing on the sheet. Tilt the candy to ensure even coverage.
• Molds Sticking: Ensure molds are lightly greased or use silicone molds for easy release.
Variations and Regional Differences
• Thai Style: Uses pandan extract instead of vanilla for a fragrant, verdant twist, reflecting local flavor profiles.
• Indian Variation: Incorporates cardamom and saffron, adding a rich, aromatic depth typical of Indian sweets.
• Brazilian Brigadeiro Style: Includes cocoa powder in the coconut mixture for a chocolatey base, a nod to the popular Brazilian treat.
• Mexican Influence: Adds a hint of chili powder to the chocolate for a spicy kick, reminiscent of Mexican chocolate confections.
Food Science Behind the Recipe
• Emulsification: The combination of coconut oil and chocolate creates a stable emulsion, resulting in a smooth, shiny coating.
• Binding Agents: Sweetened condensed milk acts as a binding agent, holding the coconut mixture together without additional thickeners.
• Coconut's Role: The high-fat content in coconut provides moisture and richness, contributing to the candy's chewy texture.
Frequently Asked Questions
What's the most common mistake people make when preparing Coconut Hearts Candy? Overpacking the molds, leading to dense candies.
Can I use sweetened coconut? Yes, but adjust the condensed milk to prevent the candy from being overly sweet.
How do I store these candies? Store in an airtight container in a cool, dry place for up to two weeks.
Can I freeze the candies? Freezing is not recommended as it can affect the texture of the chocolate coating.
What if my chocolate seizes? Add a small amount of coconut oil and gently reheat to smooth it out.
Can I add nuts? Chopped nuts can be mixed into the coconut base for added texture.
How do I achieve a glossy chocolate finish? Proper tempering and allowing the chocolate to cool at room temperature will achieve this.
Serving and Presentation Guide
• Traditional Presentation: Arrange candies in a single layer on a decorative plate, garnished with a few coconut flakes.
• Gift Presentation: Place candies in decorative boxes lined with tissue paper, sealed with a ribbon for a personal touch.
• Party Platter: Serve alongside other tropical fruits and desserts for a colorful, themed spread.
• Individual Servings: Place each candy in a mini cupcake wrapper for easy handling at gatherings.
Conclusion
These Coconut Hearts Candy not only captivate with their tropical flavors but also charm with their delightful appearance.
Perfect for gifting or indulging, they bring a taste of the tropics to any occasion.
We hope you enjoy creating and sharing these sweet treats with your loved ones.