
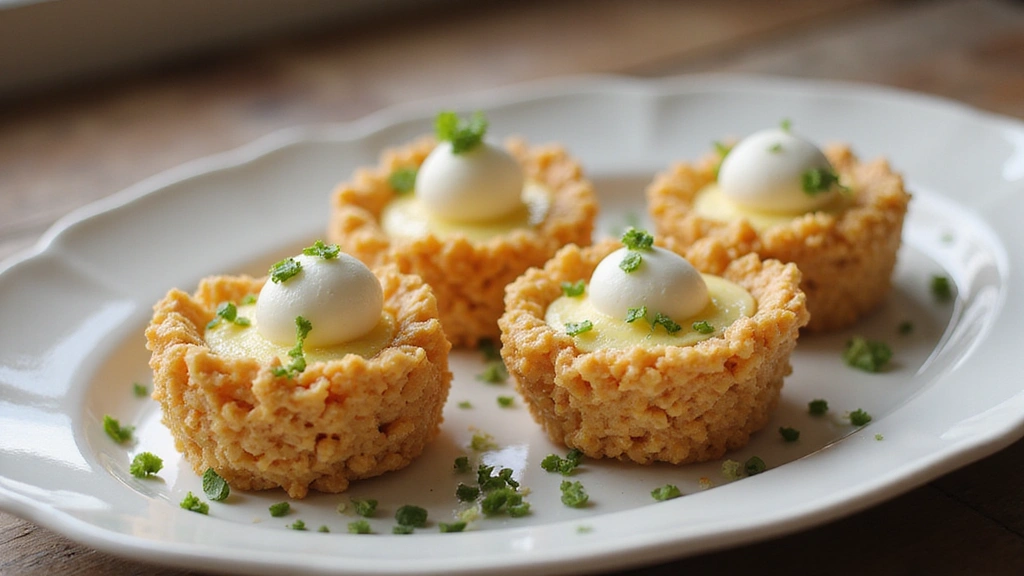
Springtime Fun: Adorable Rice Krispies Egg Nests are a delightful way to celebrate Easter with a sweet, crunchy treat.
These whimsical nests are not only fun to make but also bring a burst of color and joy to your holiday table.
The combination of crispy rice cereal and gooey marshmallow creates a texture that’s both chewy and crunchy.
Decorated with candy eggs, these nests are a visual delight and perfect for little hands to help create.
Whether you’re hosting an Easter brunch or looking for a fun family activity, these nests are sure to impress.
Prepare to enjoy the simplicity of the recipe and the smiles it brings to everyone who tastes them.
Contents
- The History and Cultural Significance
- Recipe Overview
- Nutritional Information (per serving)
- Essential Equipment Guide
- Ingredients
- Preparation Methods
- Step 1: Prepare Ingredients
- Step 2: Melt Butter
- Step 3: Add Marshmallows
- Step 4: Combine with Rice Krispies
- Step 5: Shape the Nests
- Step 6: Cool the Nests
- Step 7: Decorate with Eggs
- Step 8: Serve and Enjoy
- Critical Timing and Temperature Guide
- Pro Tips for Springtime Fun: Adorable
- Troubleshooting Common Issues
- Variations and Regional Differences
- Food Science Behind the Recipe
- Frequently Asked Questions
- Serving and Presentation Guide
Recommended Products
Rice Krispie Treats Peeps Marshmallow Chicks

Made from wholesome, natural & carefully selected grains

BUNNY SHAPED CORN PUFFS: Made with real REESE'S peanut butter and chocolatey goodness, shaped like bunnies to bring the fun of spring to your family
The History and Cultural Significance
• Springtime Fun: Adorable traces its origins to the United States, where it was originally created by homemakers looking for easy, festive treats for Easter celebrations.
• The dish evolved over decades as variations with different candies and decorations became popular, eventually becoming the beloved version we know today.
• In American culture, this dish traditionally appears at Easter gatherings, symbolizing the joy and renewal of springtime.
• While many variations exist across different regions, the authentic version maintains a simple, sweet base with decorative elements that set it apart from imitations.
Recommended Products

【What You Will Get】100Pcs 4x6 Inches bags(not including any food)

Rice Krispies Treats cereal bars are delicious snacks for everyday family moments; Perfectly sized, ready-to-enjoy treat
Great for decorating; Pre-made treat sheet that is ready to serve; Cut into different sizes, portions, shapes, and designs
Recipe Overview
Recommended Products

Easter Baking Set: Each set includes 2 silicone egg molds with 8 cavities each, allowing you to bake, mold, and create a variety of Easter-themed desserts and candies

Easter Baking Set: Each pack includes 2 silicone molds with 5 egg-shaped cavities per piece, totaling 10 egg compartments; the 5-cavity design ensures evenly sized eggs, suitable for batch baking and candy making

With 9 different colors of dye, this kit is perfect for making eggs of every imaginable shade and hue. Also includes a PAAS Magic Crayon to help you make complex and customized designs!
Nutritional Information (per serving)
Essential Equipment Guide
Large Mixing Bowl: A large mixing bowl is essential for combining the Rice Krispies and melted marshmallow mixture easily. A stainless steel bowl is recommended for its durability and ease of cleaning.
Microwave-Safe Bowl: A microwave-safe bowl is important for melting marshmallows quickly and evenly. Glass or ceramic bowls are generally the best options for this purpose.
Muffin Tin: Using a muffin tin helps shape the Rice Krispies mixture into uniform nests. Silicone muffin tins are particularly helpful as they make unmolding easier.
Ingredients
For the Nests
|
| Amount | Ingredient | Notes |
|---|---|---|
| 3 tablespoons | butter | adds richness |
| 4 cups | mini marshmallows | provides sweetness and binding |
| 6 cups | Rice Krispies cereal | creates the crispy base |
Decoration
| Amount | Ingredient | Notes |
|---|---|---|
| 1 cup | candy-coated chocolate eggs | adds color and Easter theme |
| 1 cup | shredded coconut | optional, for an added texture |
Preparation Methods
Melting Marshmallows: Melting marshmallows to the right consistency is crucial for binding the Rice Krispies together. Use a microwave or stovetop, stirring frequently to avoid burning.
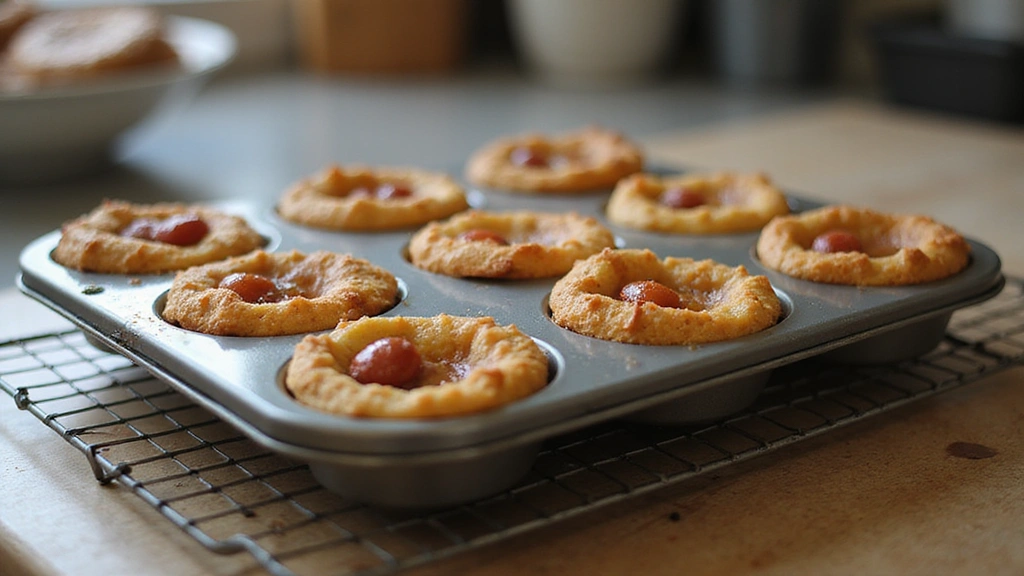
Shaping the Nests: Use a muffin tin to help shape the nests uniformly. Press the mixture gently into the tin, creating a small well in the center for the candy eggs.
Decorating with Eggs: After the nests have cooled slightly, pressing candy eggs into the center adds the final decorative touch. Ensure the nests are still slightly warm so the eggs adhere well.
Step 1: Prepare Ingredients
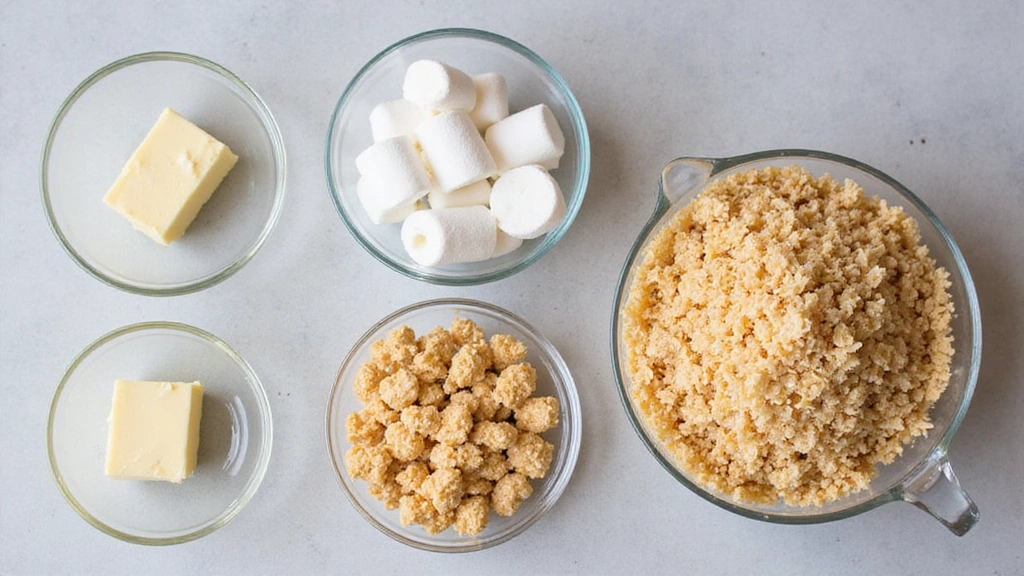
Gather all ingredients and equipment before starting.
Ensure the butter, marshmallows, and Rice Krispies are measured out accurately.
This preparation ensures a smooth and efficient cooking process.
Having everything ready minimizes stress and allows for better focus on technique.
Step 2: Melt Butter
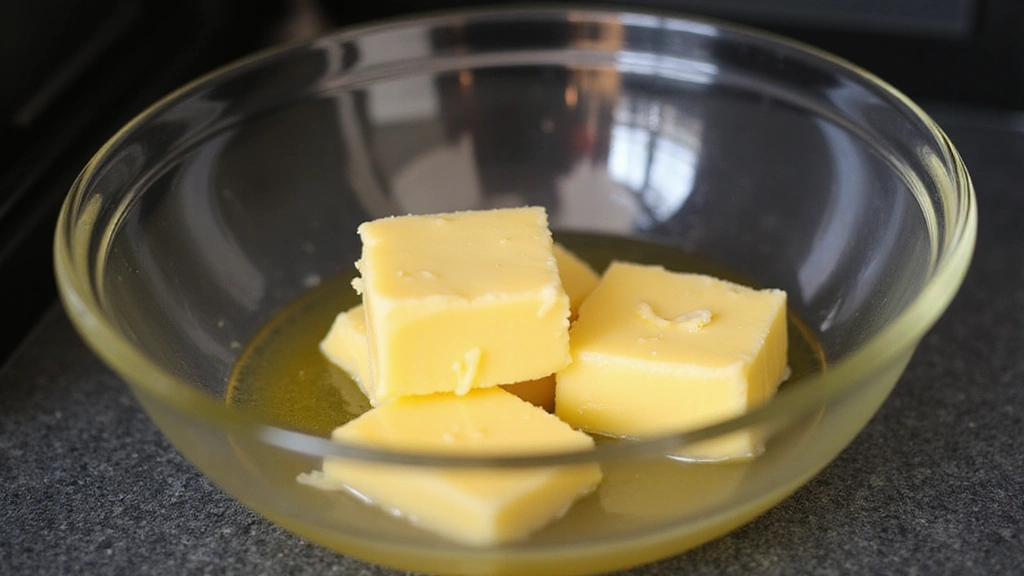
Place butter in a large microwave-safe bowl.
Heat in the microwave on high for 30 seconds or until fully melted.
Stir to ensure even melting and consistency.
This step creates the base for melting marshmallows.
Step 3: Add Marshmallows
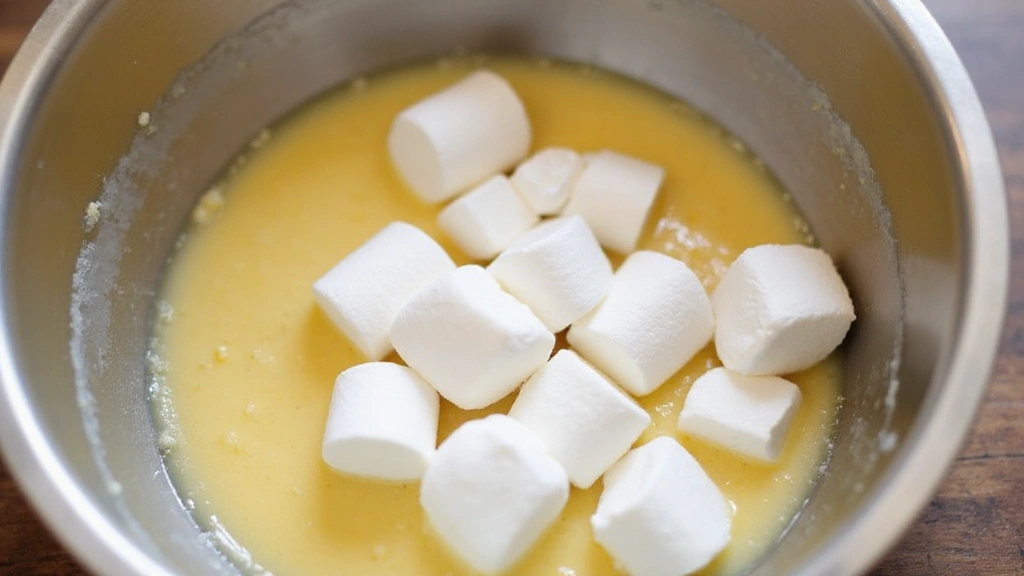
Add mini marshmallows to the melted butter in the bowl.
Stir to coat marshmallows evenly with butter.
Heat in the microwave for 1 minute, then stir.
Ensure marshmallows are fully melted and smooth.
Step 4: Combine with Rice Krispies
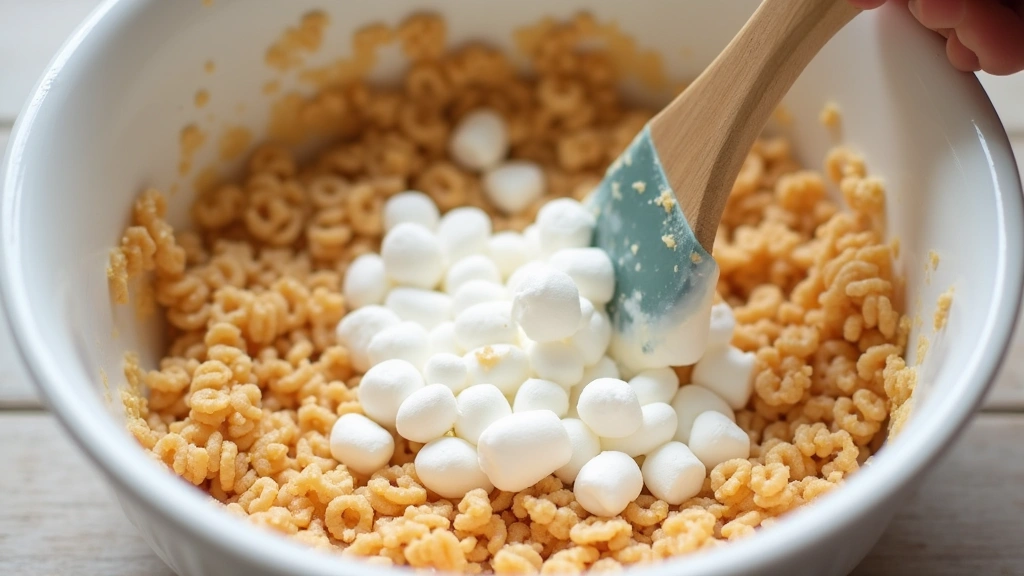
Pour Rice Krispies into the melted marshmallow mixture.
Stir gently but thoroughly to coat the cereal evenly.
Use a spatula for better mixing and to avoid crushing the cereal.
The mixture should be sticky and well-combined.
Step 5: Shape the Nests
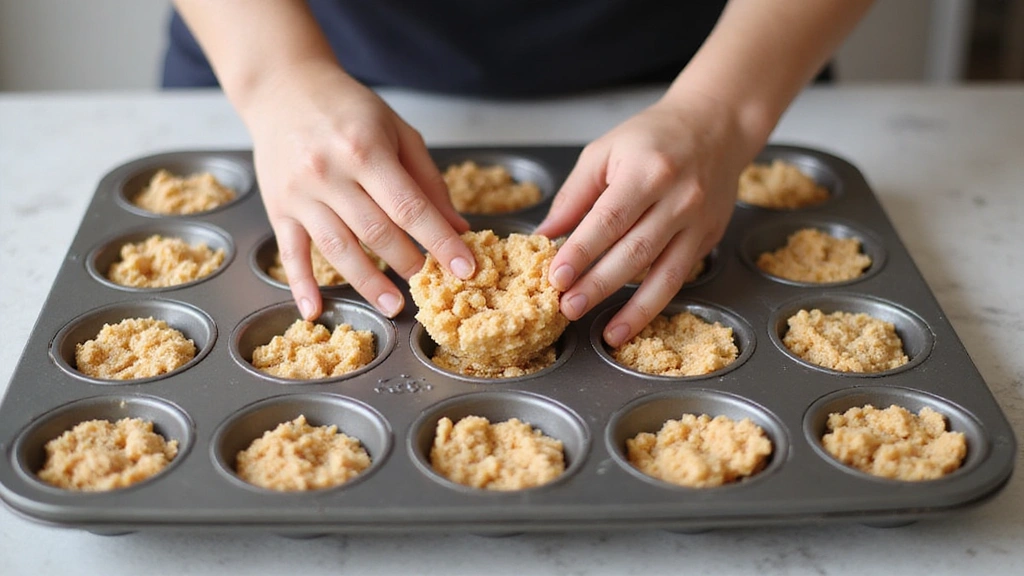
Spoon the Rice Krispies mixture into a greased muffin tin.
Press gently with your fingers to form nest shapes.
Create a small well in the center to hold candy eggs.
Ensure the nests are uniform in size and shape.
Step 6: Cool the Nests
Allow the shaped nests to cool at room temperature.
This cooling process helps the nests firm up and hold their shape.
Avoid placing them in the refrigerator, which can make them too hard.
Check for firmness after about 15 minutes.
Step 7: Decorate with Eggs
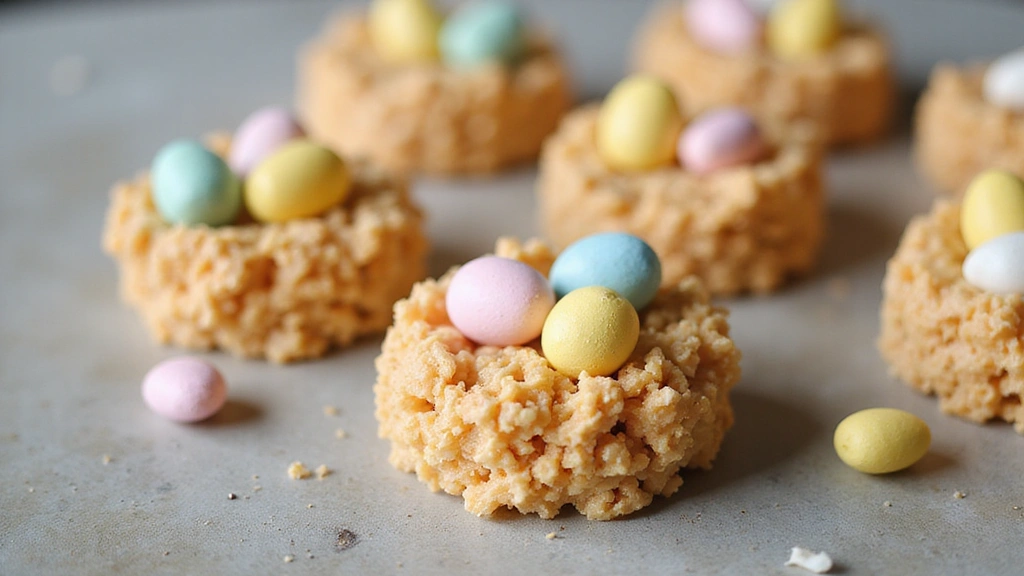
Once cooled, add candy-coated chocolate eggs to the center of each nest.
Press eggs gently so they adhere to the nest.
Add shredded coconut if desired for an extra decorative touch.
Ensure eggs are evenly spaced and securely held.
Step 8: Serve and Enjoy
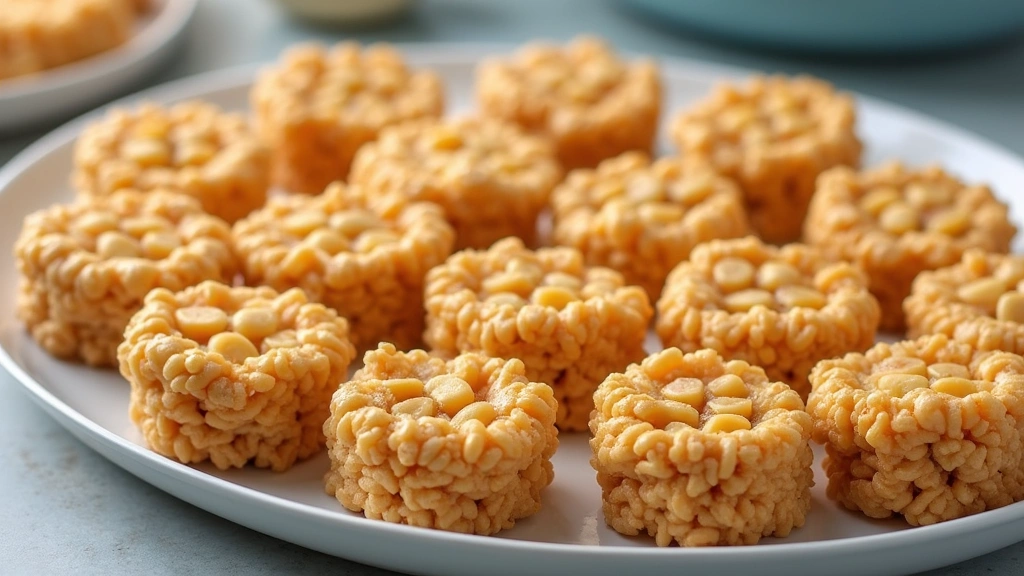
Carefully remove the nests from the muffin tin.
Place them on a serving platter for display.
Serve these delightful nests as a sweet Easter treat.
Enjoy the blend of textures and flavors with family and friends.
Critical Timing and Temperature Guide
Melting Marshmallows: Melt marshmallows at medium-high heat for 1 minute. Stir frequently to avoid burning.
Shaping the Nests: Shape the nests while the mixture is still warm but not hot. This ensures easy molding without burning fingers.
Cooling Period: Allow nests to cool for at least 15 minutes at room temperature. Avoid refrigeration to maintain ideal texture.
Pro Tips for Springtime Fun: Adorable
• Ingredient Selection: Use fresh marshmallows for the best melting consistency and flavor. Stale marshmallows can result in a dense, sticky mixture.
• Preparation Secret: Coat your hands or utensils with a little butter to prevent sticking when shaping the nests.
• Temperature Management: Ensure melted marshmallows are not too hot when mixing with cereal to avoid soggy nests.
• Texture Enhancement: Press the cereal mixture gently into the muffin tin to maintain a light, airy texture.
• Flavor Layering: Add a touch of vanilla extract to the melted marshmallow for a subtle flavor boost.
• Make-Ahead Strategies: Prepare the nests a day in advance and store in an airtight container at room temperature.
• Restaurant-Quality Finishing Touches: Dust with powdered sugar for a light, sweet finish that enhances presentation.
• Equipment Optimization: Use a silicone spatula for easy mixing and cleaning, as it prevents sticking.
Troubleshooting Common Issues
• Texture Too Dense: Stale marshmallows or over-packing the mixture can cause density. Use fresh marshmallows and avoid pressing too hard.
• Nests Falling Apart: Insufficient marshmallow binding can cause this issue. Ensure marshmallows are fully melted and mixed thoroughly.
• Burnt Marshmallows: Overheating can cause burning. Melt marshmallows gradually and stir frequently.
• Uneven Shaping: Inconsistent nest sizes can occur if mixture is not distributed evenly. Use a measuring cup to portion the mixture into the muffin tin.
• Sticky Hands: This can be resolved by lightly greasing hands or tools with butter before shaping the nests.
Variations and Regional Differences
• Chocolate Variation: Add melted chocolate to the marshmallow mixture for a richer flavor, altering the sweetness profile.
• Nutty Variation: Incorporate chopped nuts into the Rice Krispies mixture for added crunch and a nutty flavor.
• Fruit-Infused Variation: Add dried fruit pieces for a chewy, fruity contrast to the crispy texture.
• Spiced Variation: Add a pinch of cinnamon or nutmeg to the mixture for a warm, spiced flavor that's perfect for cooler spring days.
Food Science Behind the Recipe
• Gelatinization: The gelatin in marshmallows binds the Rice Krispies, creating a stable structure when cooled.
• Maillard Reaction: The slight toasting of marshmallows during melting enhances flavor through this chemical reaction.
• Emulsification: Butter acts as an emulsifier, helping to evenly distribute marshmallow throughout the cereal for consistent texture.
Frequently Asked Questions
What's the most common mistake people make when preparing Rice Krispies Egg Nests? Overheating the marshmallows or not mixing thoroughly can lead to inconsistent texture.
Can I use large marshmallows instead of mini ones? Yes, but they may require a longer melting time and more stirring to achieve smoothness.
How do I keep my hands from sticking while shaping the nests? Lightly grease your hands with butter or use a spatula coated with cooking spray.
Can I store the nests in the refrigerator? It's best to store them at room temperature to maintain their texture.
How far in advance can I make these nests? They can be made up to 2 days in advance if stored in an airtight container.
Can other cereals be used instead of Rice Krispies? While possible, other cereals may alter the texture and flavor significantly.
How do I prevent the nests from becoming too hard? Avoid refrigerating and ensure marshmallows are not overheated during preparation.
Serving and Presentation Guide
• Traditional Presentation: Serve the nests on a decorative platter lined with pastel-colored paper or fabric for a festive look.
• Individual Servings: Present each nest on a small, decorative plate or in colorful cupcake liners for individual servings.
• Themed Arrangement: Arrange nests on a large platter with Easter-themed decorations like small bunnies or chicks around them.
• Interactive Display: Create a DIY station where guests can decorate their own nests with a variety of toppings.
Conclusion
Creating these Rice Krispies Egg Nests is not only a fun activity but also a delightful way to celebrate the joys of spring and Easter.
The simplicity of the recipe combined with its visual appeal makes it a perfect choice for family gatherings and festive occasions.
We encourage you to try this recipe and share the joy with your loved ones as you create sweet memories together.