
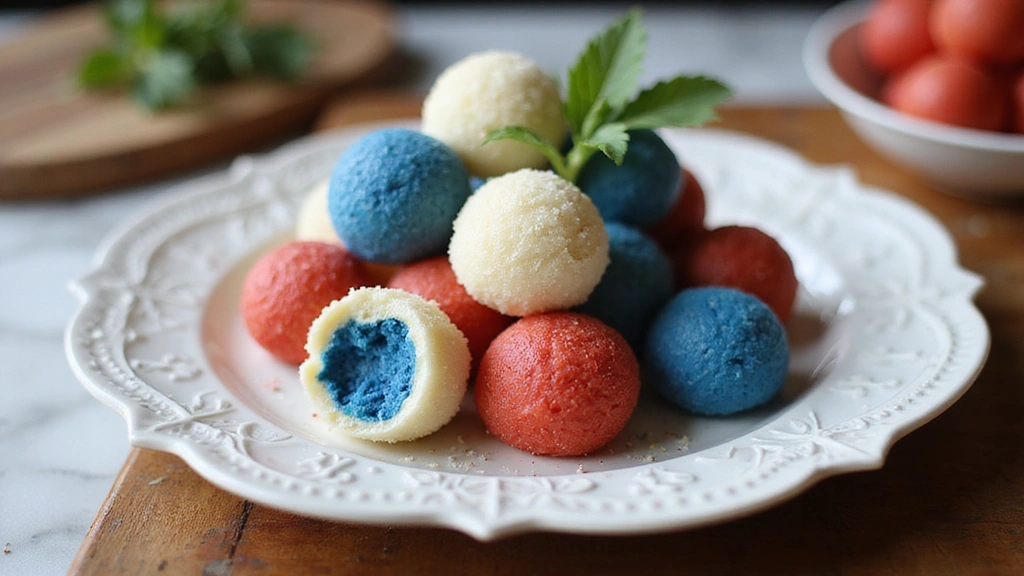
The 4th of July Cake Balls are a festive treat perfect for celebrating America’s Independence Day.
These delightful bites combine the rich flavors of vanilla cake with a creamy frosting interior, all encased in a vibrant shell of red, white, and blue.
I first discovered the magic of cake balls at a local bake sale, where their eye-catching colors and irresistible taste made them a runaway hit.
With their easy preparation and stunning presentation, these cake balls are sure to be a crowd-pleaser at any summer gathering.
Whether you’re looking to impress at a bake sale or simply share a delicious dessert with friends and family, these cake balls offer a delightful twist on traditional cakes.
Contents
- The History and Cultural Significance
- Recipe Overview
- Nutritional Information (per serving)
- Essential Equipment Guide
- Ingredients
- Preparation Methods
- Step 1: Prepare Cake Batter
- Step 2: Bake the Cake
- Step 3: Prepare Frosting
- Step 4: Crumble Cake
- Step 5: Mix Cake and Frosting
- Step 6: Form Cake Balls
- Step 7: Melt Candy Coatings
- Step 8: Dip and Decorate Cake Balls
- Critical Timing and Temperature Guide
- Pro Tips for Bake Sale Success
- Troubleshooting Common Issues
- Variations and Regional Differences
- Food Science Behind the Recipe
- Frequently Asked Questions
- Serving and Presentation Guide
Recommended Products

Package: Get 3 pieces of different chocolate dessert forks (3 Styles) and 1 piece of stainless steel slotted spoon.

Versatile and Convenient: Indulge in hassle-free candy-making with these 3 tall microwavable dipping containers. Melt, dip, and drizzle your way to delightful pretzel rods, cake pops and more.

Stainless Steel Material: Chocolate dipping tool is made of stainless steel, this chocolate dipping tool is stable, andreliable, maintaining its shine even after long-term use. It's an ideal tool for home confectionery making, candy making supplies
The History and Cultural Significance
• Bake Sale Success: traces its origins to the Southern United States, where it was originally created by home bakers looking for creative ways to use leftover cake scraps.
• The dish evolved over decades as bakers experimented with different flavors and coatings, eventually becoming the beloved version we know today.
• In American culture, this dish traditionally appears at patriotic celebrations, symbolizing creativity and resourcefulness.
• While many variations exist across different regions, the authentic version maintains its iconic spherical shape and vibrant colors that set it apart from imitations.
Recommended Products
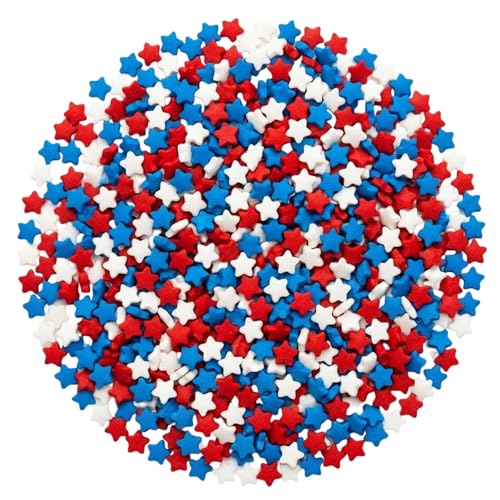
3.4 ounces of beautiful, sweet, and festive patriotic Star sprinkles.

🇺🇸 7 ounces of bright, beautiful, and festive Patriotic sprinkles

Our 6-ounce bag of red white and blue sprinkles is perfect for adding a festive touch to any dessert - ideal for birthdays, BBQs, or patriotic holiday celebrations
Recipe Overview
Recommended Products

【MULTI USES】 #40 cookie scooper for baking, is about 2 Tbsp / 30ml / 1 oz. Diameter is 1.72 inch/44 mm. You can use it as ice cream scooper, cookie scooper, cookie dough scoop, cupcake scoop, meatball scoop, melon baller scoop, food ball maker, sorbet scoop, even as measure spoon to satisfy kinds of different needs.

#40 COOKIE SCOOP, 2 Tbsp SCOOP – The medium cookie scoop is 1 25/32 inches (45mm) diameter, the capacity is 2 tablespoons/ 30 ml/ 1 oz. Many sizes cookie scoopers are available, we can choose the right size according to our needs

Product content: You will receive 1 pcs stainless steel meatball tongs. Help you quickly make restaurant-style meatballs at home
Nutritional Information (per serving)
Essential Equipment Guide
Stand Mixer: A stand mixer is essential for achieving the smooth and fluffy cake batter that forms the base of the cake balls. While a hand mixer can suffice, a stand mixer ensures even mixing and saves time. Look for a model with multiple speed settings and a sturdy build.
Cookie Scoop: This tool is important for portioning out the cake balls evenly, ensuring consistent size and cooking. An ice cream scoop can be an alternative, but a cookie scoop offers more precision. Choose a scoop with a comfortable grip and easy-release mechanism.
Double Boiler: Using a double boiler is crucial for melting the chocolate coating without burning it. If you don’t have a double boiler, a heatproof bowl over a pot of simmering water can work. Ensure the bowl fits snugly over the pot and doesn’t touch the water.
Ingredients
For the Cake
|
| Amount | Ingredient | Notes |
|---|---|---|
| 1 box | vanilla cake mix | adds classic flavor |
| 3 large | eggs | provides structure |
| 1 cup | water | moistens the batter |
| 1/3 cup | vegetable oil | ensures moistness |
For the Frosting
| Amount | Ingredient | Notes |
|---|---|---|
| 1/2 cup | butter | softened for creaminess |
| 2 cups | powdered sugar | sifted for smooth texture |
| 1 teaspoon | vanilla extract | enhances flavor |
For the Coating
| Amount | Ingredient | Notes |
|---|---|---|
| 1 cup | red candy melts | provides vibrant color |
| 1 cup | white candy melts | provides vibrant color |
| 1 cup | blue candy melts | provides vibrant color |
Preparation Methods
Creaming Method: This technique involves beating butter and sugar together until light and fluffy, which helps incorporate air into the batter. This is essential for achieving a tender crumb in the cake balls. Ensure the butter is at room temperature before starting.
Melting Chocolate: Using a double boiler to melt chocolate ensures even heat distribution, preventing scorching. Stir frequently and avoid getting any water in the chocolate, as this can cause it to seize.
Rolling Cake Balls: Rolling the cake and frosting mixture into uniform balls is key for even cooking and coating. Use slightly damp hands to prevent sticking and apply gentle pressure to form compact balls.
Step 1: Prepare Cake Batter
Preheat your oven to 350°F (175°C).
In a large mixing bowl, combine the vanilla cake mix, eggs, water, and vegetable oil.
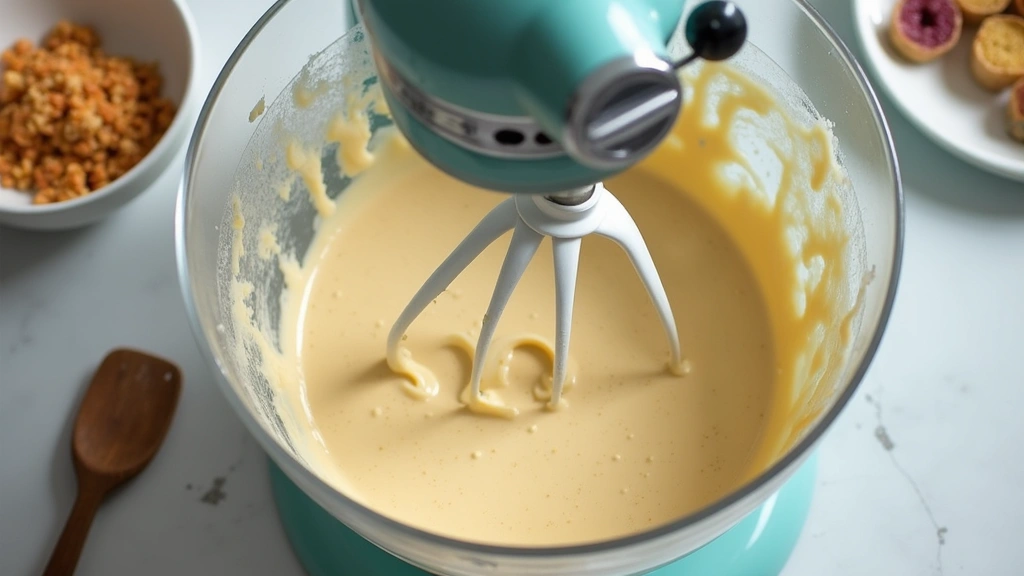
Use a stand mixer on medium speed to blend the ingredients until smooth and homogenous.
Pour the batter into a greased baking pan, smoothing the top with a spatula.
Step 2: Bake the Cake
Place the baking pan in the preheated oven.
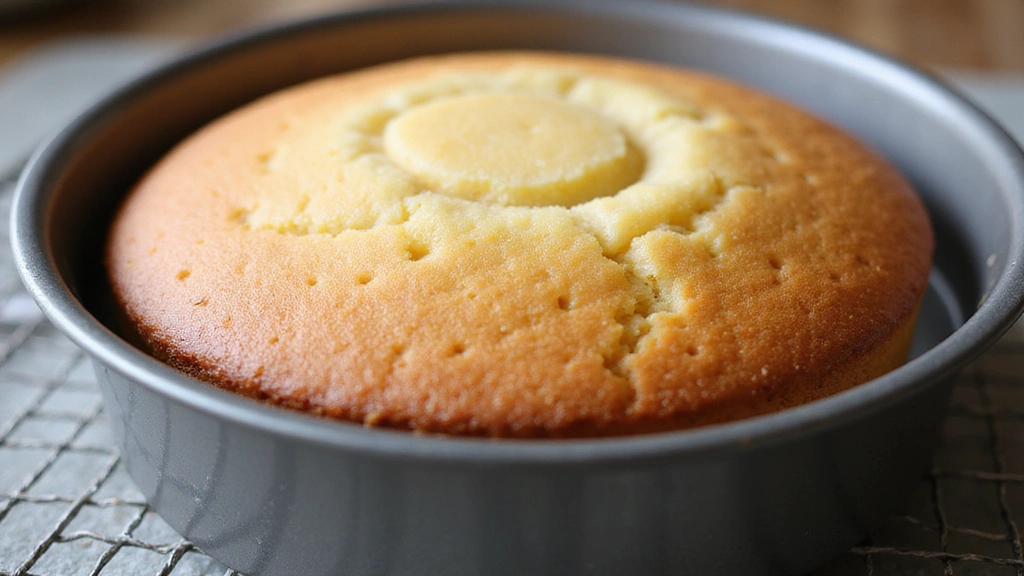
Bake for 30 minutes or until a toothpick inserted into the center comes out clean.
Remove the cake from the oven and let it cool completely in the pan.
Use a cooling rack to speed up the cooling process.
Step 3: Prepare Frosting
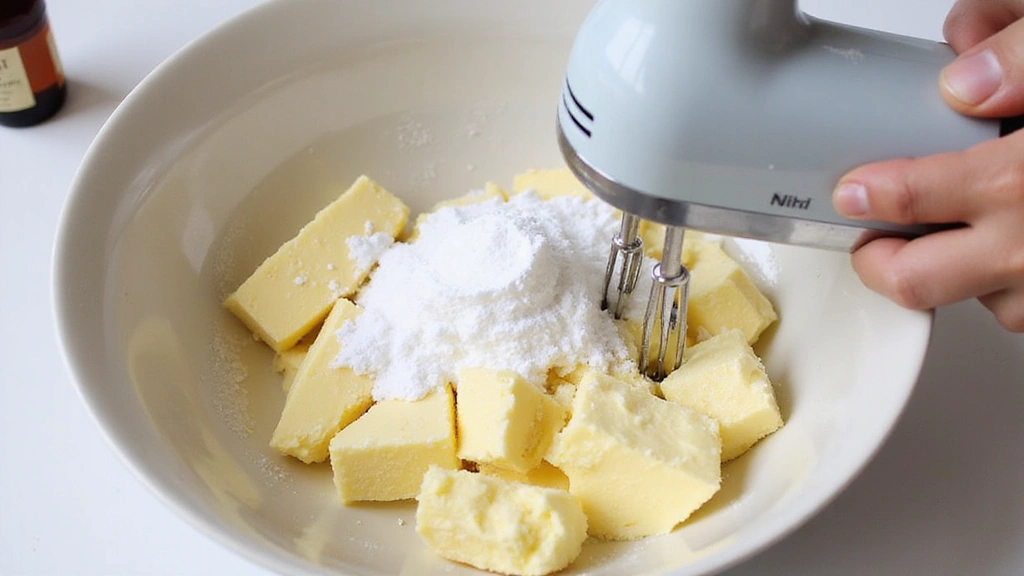
In a medium bowl, cream the softened butter using a hand mixer until smooth.
Gradually add the powdered sugar, mixing on low speed to avoid splatters.
Add the vanilla extract and continue beating until the frosting is fluffy and well combined.
Adjust the consistency with a splash of milk if too thick.
Step 4: Crumble Cake
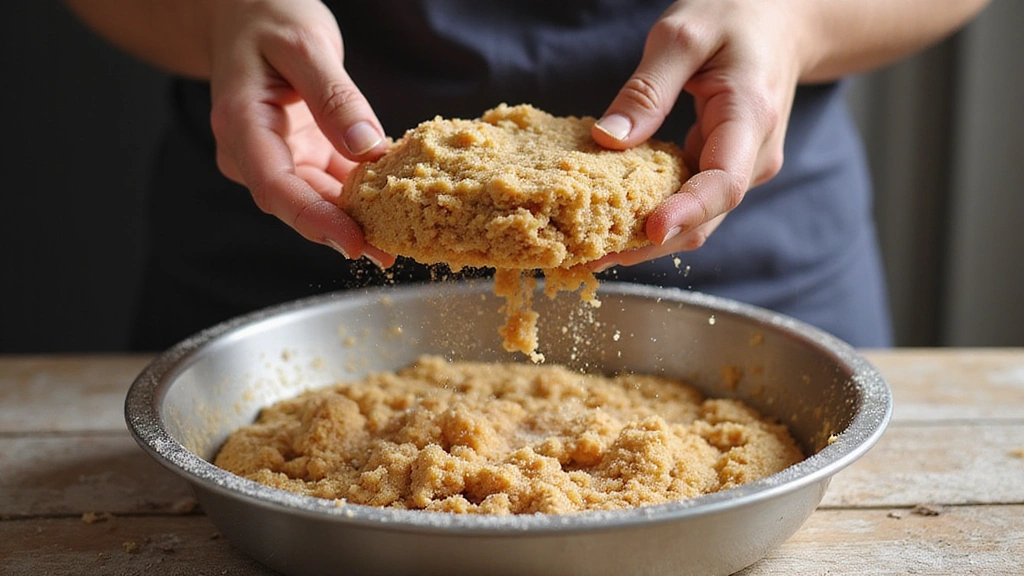
Once the cake is completely cooled, crumble it into fine crumbs using your hands or a fork.
Transfer the cake crumbs to a large mixing bowl.
Ensure there are no large chunks remaining for a uniform texture.
Set the crumbs aside for the next step.
Step 5: Mix Cake and Frosting
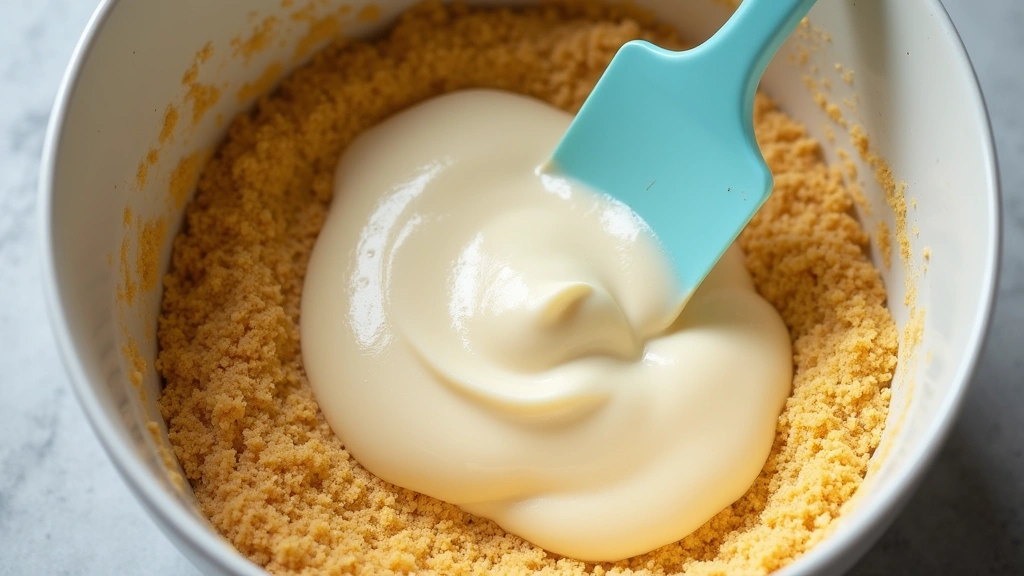
Add the prepared frosting to the bowl of cake crumbs.
Use a spatula or your hands to thoroughly combine the frosting and crumbs.
The mixture should be moist and hold together when pressed.
Adjust with more frosting if necessary for proper consistency.
Step 6: Form Cake Balls
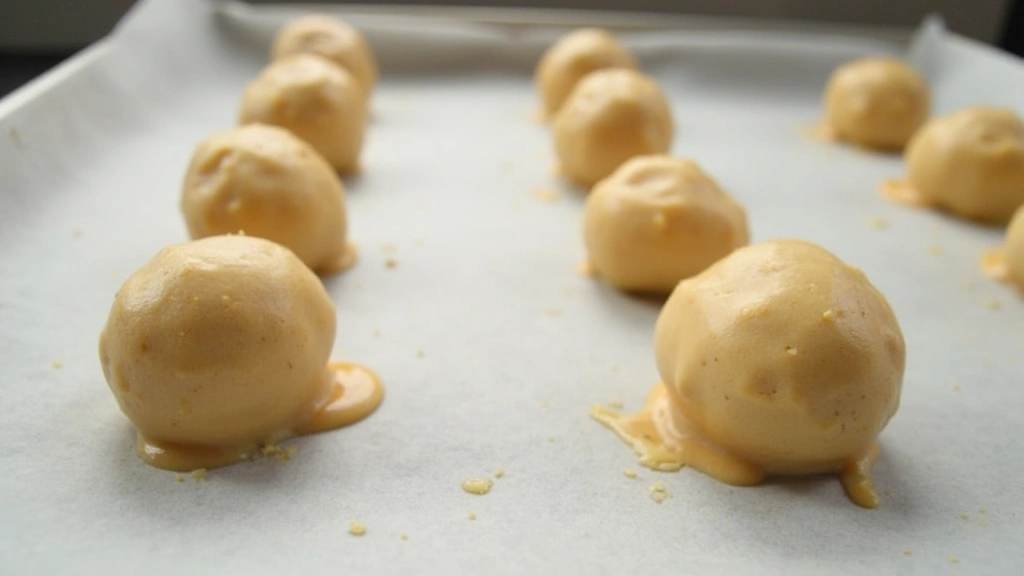
Using a cookie scoop, portion out the cake mixture and roll into balls.
Place the formed cake balls onto a baking sheet lined with parchment paper.
Ensure each ball is uniform in size for even coating.
Refrigerate the cake balls for 15-20 minutes to firm up.
Step 7: Melt Candy Coatings
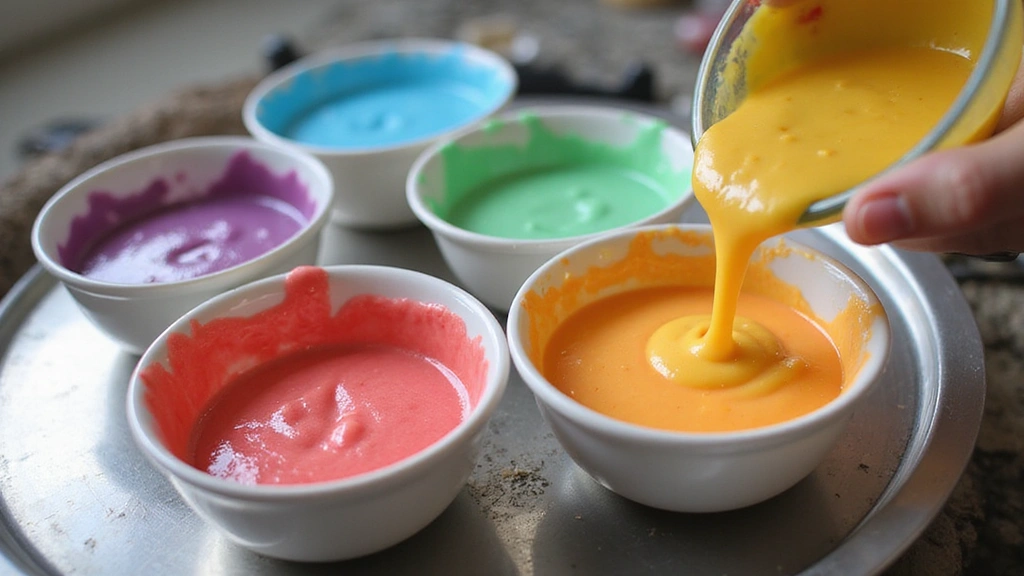
Set up a double boiler for each color of candy melts.
Melt the red, white, and blue candy melts separately, stirring occasionally.
Ensure the melts are smooth and fully liquefied before proceeding.
Keep the heat low to prevent overheating and seizing.
Step 8: Dip and Decorate Cake Balls
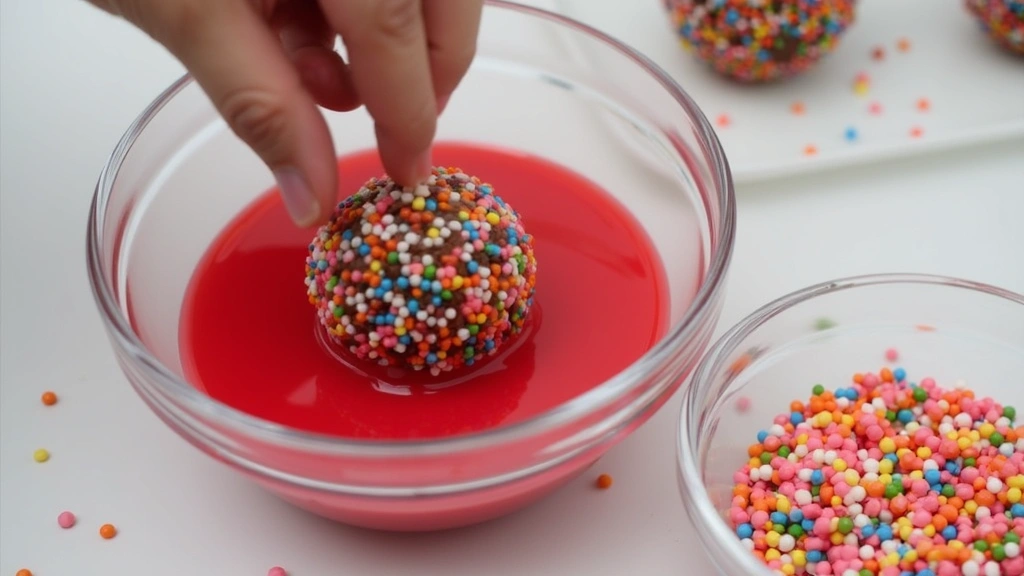
Remove the chilled cake balls from the refrigerator.
Dip each cake ball into the melted candy coating using a fork or dipping tool.
Allow excess coating to drip off before placing the coated balls back onto the parchment.
Optionally, sprinkle with festive decorations while the coating is still wet.
Critical Timing and Temperature Guide
Baking the Cake: Bake at 350°F (175°C) for 30 minutes, until a toothpick inserted comes out clean. Avoid opening the oven door frequently to maintain a consistent temperature.
Chilling Cake Balls: Refrigerate cake balls for 15-20 minutes to firm them up before coating. Ensure they are chilled but not frozen for optimal coating adhesion.
Melting Candy Coatings: Melt candy melts over low heat in a double boiler, stirring often. Avoid water contact to prevent seizing and ensure a smooth coating.
Pro Tips for Bake Sale Success
• Ingredient Selection: Use high-quality vanilla extract for the frosting to enhance the overall flavor profile.
• Preparation Secret: Let the cake cool completely before crumbling to ensure it mixes well with the frosting.
• Temperature Management: Ensure candy melts are at the right temperature for dipping to achieve a smooth and glossy finish.
• Texture Enhancement: Adjust the frosting consistency with a bit of milk to ensure it mixes well with the cake crumbs.
• Flavor Layering: Add a pinch of salt to the frosting to balance the sweetness and enhance flavors.
• Make-Ahead Strategies: Prepare and chill the cake balls a day ahead to streamline the coating process.
• Restaurant-Quality Finishing Touches: Dust the finished cake balls with edible glitter for a dazzling presentation.
• Equipment Optimization: Use parchment paper to prevent sticking and ensure easy cleanup.
Troubleshooting Common Issues
• Texture Too Dense: Ensure the cake is fully cooled before crumbling to prevent a dense mixture. If already dense, add more frosting to lighten the texture.
• Flavors Unbalanced: Add a little more vanilla extract or a pinch of salt to the frosting if flavors seem off.
• Coating Not Sticking: Make sure cake balls are properly chilled before dipping and avoid excess crumbs on the surface.
• Candy Coating Seizing: If chocolate seizes, add a small amount of vegetable oil to restore smoothness.
• Uneven Cake Ball Sizes: Use a cookie scoop to ensure uniform portions for even cooking and coating.
• Candy Coating Cracking: Allow cake balls to come closer to room temperature before dipping to prevent temperature shock.
Variations and Regional Differences
• Southern Style: Incorporates pecans into the cake crumb mixture for added texture and a nutty flavor.
• New England Variation: Uses a lemon-flavored cake base and white chocolate coating for a refreshing twist.
• California Twist: Adds a hint of coconut extract to the frosting and coats with shredded coconut before the candy coating sets.
• Midwestern Classic: Features a chocolate cake base with peanut butter frosting, coated in milk chocolate candy melts.
Food Science Behind the Recipe
• Emulsification: The process of creaming butter and sugar creates a stable emulsion that traps air, resulting in a tender cake texture.
• Crumb Structure: Proper cooling and crumbling of the cake ensure the right balance of moisture and structure in the final cake balls.
• Thermal Conductivity: The double boiler method allows for gentle, even heating of the candy melts, preventing burning and ensuring a smooth coating.
Frequently Asked Questions
What's the most common mistake people make when preparing 4th of July Cake Balls? Overmixing the cake and frosting mixture, which can lead to a dense texture.
Can I use homemade cake instead of boxed mix? Yes, homemade cake can be used as long as it is light and not too dense.
How can I store leftover cake balls? Store them in an airtight container in the refrigerator for up to a week.
Can I freeze cake balls? Yes, freeze them on a tray first, then transfer to a freezer-safe bag for up to three months.
How do I prevent the candy coating from cracking? Allow the cake balls to warm up slightly before dipping to minimize temperature shock.
Is it possible to use white chocolate instead of candy melts? Yes, white chocolate can be used but may require tempering for best results.
What can I do if the cake balls are too sweet? Add a pinch of salt to the frosting or use a bittersweet chocolate coating to balance the sweetness.
Serving and Presentation Guide
• Traditional Presentation: Arrange the cake balls in a decorative pattern on a red, white, and blue platter for a festive look.
• Individual Servings: Place each cake ball in a cupcake liner for easy handling and to maintain neatness.
• Layered Display: Use a tiered serving tray to create an impressive centerpiece with different colored cake balls on each level.
• Themed Packaging: Wrap cake balls individually in cellophane with a ribbon for a bake sale or gift presentation.
Conclusion
The 4th of July Cake Balls are a delightful and festive treat perfect for celebrating Independence Day.
Their vibrant colors and delicious flavors are sure to impress friends and family alike.
Whether you're a baking novice or a seasoned pro, this recipe offers a fun and rewarding baking experience.
Give these cake balls a try and watch them become the star of your summer celebrations.