
The festive season is upon us, and what better way to celebrate than with delightful Christmas treats that require no baking.
These 30 no-bake recipes are perfect for involving kids in the kitchen, turning holiday prep into a fun and educational activity.
Imagine the joy of crafting sweet creations that taste as good as they look, all without the fuss of an oven.
Each treat brings a burst of holiday flavors, from peppermint and chocolate to gingerbread and caramel, making every bite a merry experience.
Whether you’re a seasoned baker or a newbie, these recipes promise success and smiles all around.
The History and Cultural Significance
• No-bake treats trace their origins to the mid-20th century, gaining popularity as convenience foods in Western cultures.
• As processed foods became more common, no-bake recipes evolved to include a variety of flavors and textures, making them a staple for quick desserts.
• In many Western cultures, these treats are a holiday tradition, symbolizing the joy of creating and sharing without the stress of elaborate baking.
• While variations exist globally, the authentic versions maintain a simplicity and accessibility that make them a beloved choice across generations.
Recommended Products

One 10.4 oz box of Jell-O No Bake Candy Cane Cheesecake Artificially Flavored Dessert Kit with Candy Cane Sprinkles, Filling Mix & Oreo Crust Mix
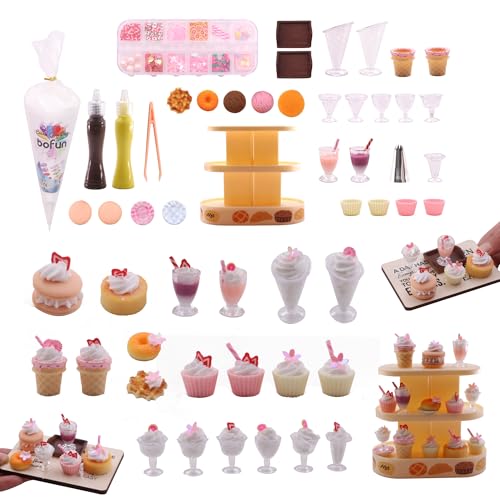
All-In-One Complete Craft Kit (No Extra Tools Needed): Includes decorative cream, mini display shelf, shaping tools, detailing accents, and essential supplies to create realistic mini food sculptures—perfect for dollhouse displays, tiny decor, hobby crafting, and creative art projects.
Recipe Overview
Recommended Products

No hydrogenated fats or high fructose corn syrup allowed in any food


Nutritional Information (per serving)
Recommended Products
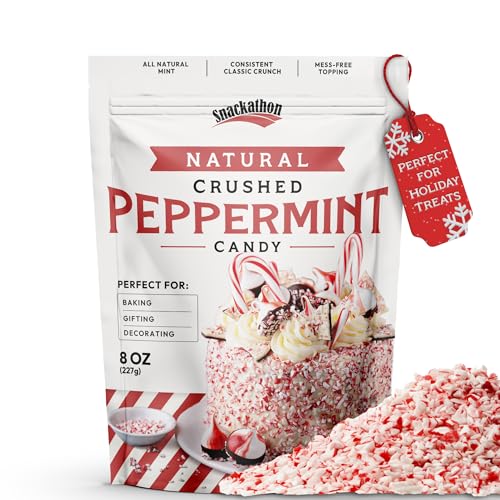
Natural Peppermint Candy Pieces – Crushed red and white peppermint bits add festive flair and minty freshness to all your baking and dessert creations.

Gift Boutique striped candy stirrers add festive flavor and decorative style to seasonal drinks and dessert stations.
Essential Equipment Guide
Mixing Bowls: Essential for combining ingredients efficiently. Look for bowls with a non-slip base to prevent accidents.
Silicone Spatula: Ideal for mixing sticky ingredients, this tool helps scrape down sides without damaging bowls. Consider heat-resistant options for durability.
Rolling Pin: Useful for flattening certain doughs or flattening mixture evenly. A lightweight, non-stick rolling pin offers the best results for kids.
Ingredients
For the Base
|
| Amount | Ingredient | Notes |
|---|---|---|
| 2 cups | graham cracker crumbs | adds a crunchy texture |
| 1 cup | chocolate chips | melted for a rich base |
For the Filling
| Amount | Ingredient | Notes |
|---|---|---|
| 1 cup | peanut butter | provides creaminess and flavor |
| 1 cup | powdered sugar | sweetens the mixture |
For Decoration
| Amount | Ingredient | Notes |
|---|---|---|
| 1 cup | white chocolate chips | melted for drizzling |
| 1 teaspoon | sprinkles | adds festive color |
Preparation Methods
Melting Chocolate: Use a double boiler or microwave in short bursts to gently melt chocolate, ensuring it doesn't burn. Stir frequently for a smooth consistency.
Mixing Ingredients: Combine dry and wet ingredients thoroughly to ensure even distribution of flavors. Use a spatula to fold in ingredients gently.
Shaping Treats: Use hands to roll or shape mixtures into desired forms. Work quickly while the mixture is pliable, and use parchment paper to prevent sticking.
Step 1: Prepare Ingredients
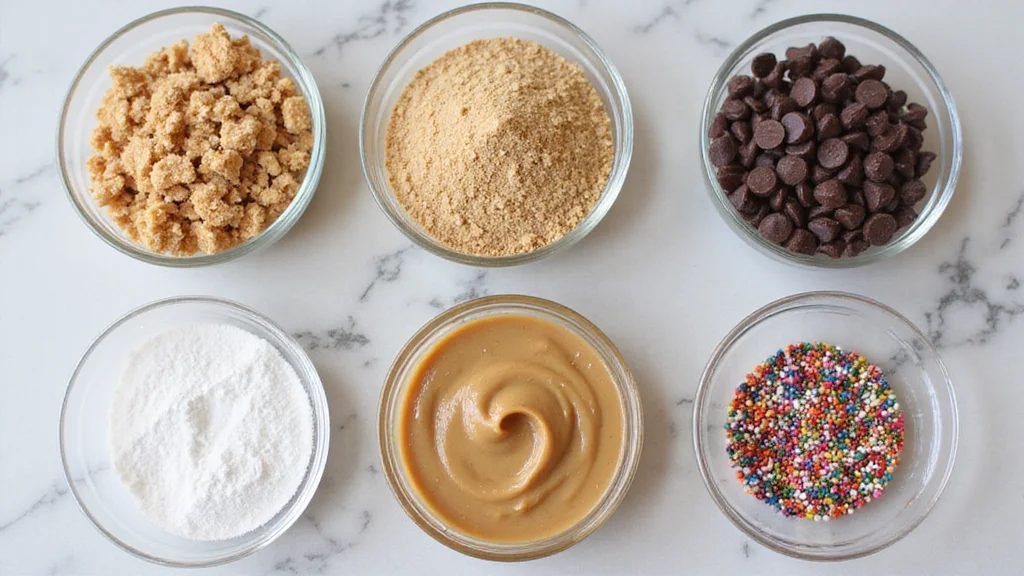
Gather all ingredients and equipment to ensure a smooth cooking process.
Measure out each ingredient carefully to maintain consistency in flavors.
Organize ingredients by category, such as base, filling, and decoration.
This preparation step ensures you have everything you need within arm's reach.
Step 2: Melt Chocolate
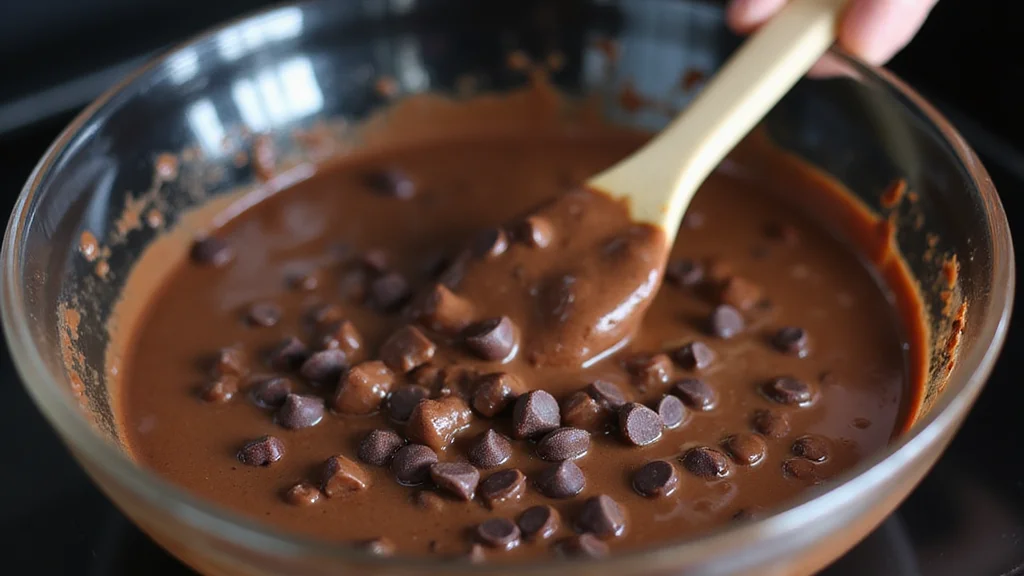
Place chocolate chips in a microwave-safe bowl.
Heat in 30-second intervals, stirring in between each session.
Continue until chocolate is fully melted and smooth.
Be cautious not to overheat, as chocolate can seize if overheated.
Step 3: Mix Base Ingredients
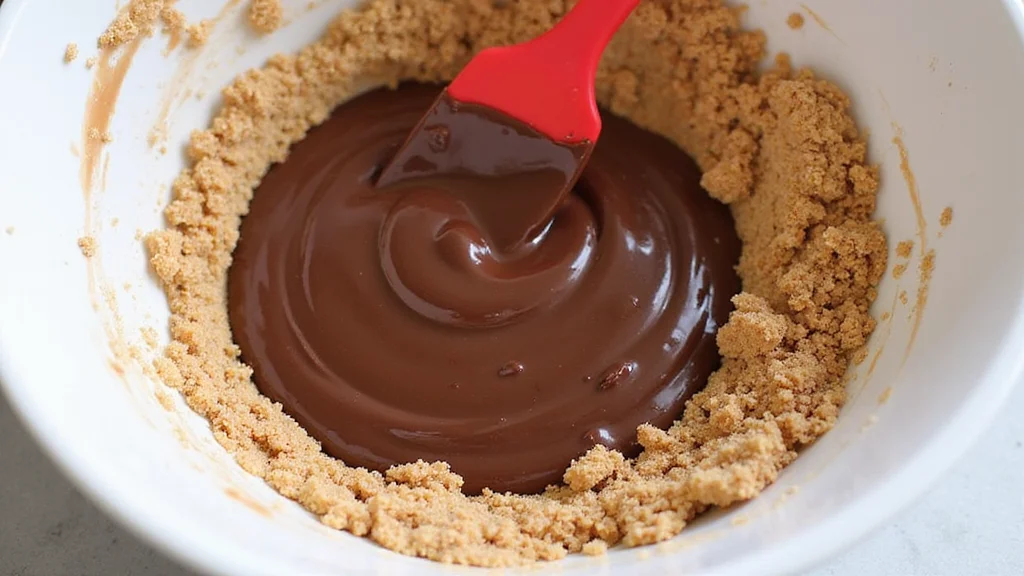
In a large mixing bowl, combine graham cracker crumbs and melted chocolate.
Stir the mixture until crumbs are fully coated with chocolate.
Ensure there are no dry patches, and the mixture is uniform.
This creates the foundation that holds the treats together.
Step 4: Prepare the Filling
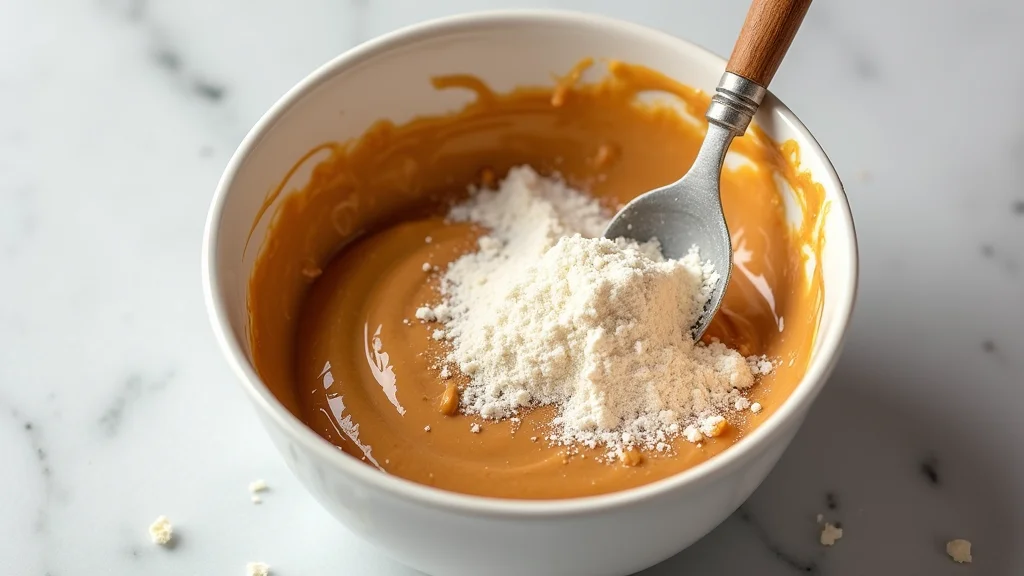
In a separate bowl, mix peanut butter and powdered sugar.
Use a spatula to blend the ingredients until smooth.
Check for any lumps of sugar and mix until fully incorporated.
This results in a creamy, sweet filling perfect for layering.
Step 5: Assemble Treats
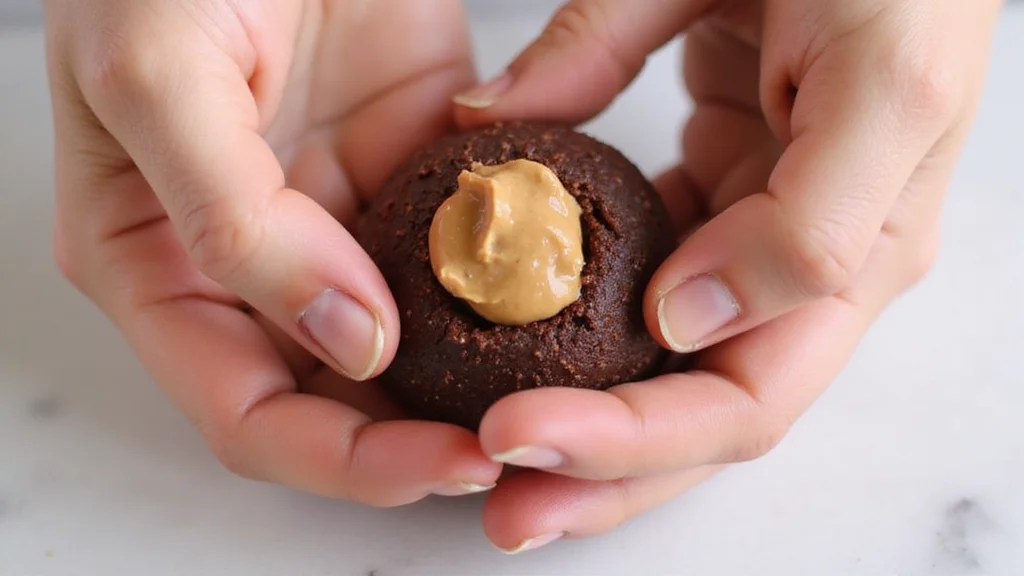
Take a spoonful of the base mixture and flatten it slightly in your hand.
Add a small amount of filling on top of the base.
Gently wrap the base around the filling to enclose it.
Repeat until all the mixture is used up, forming small balls.
Step 6: Chill the Treats
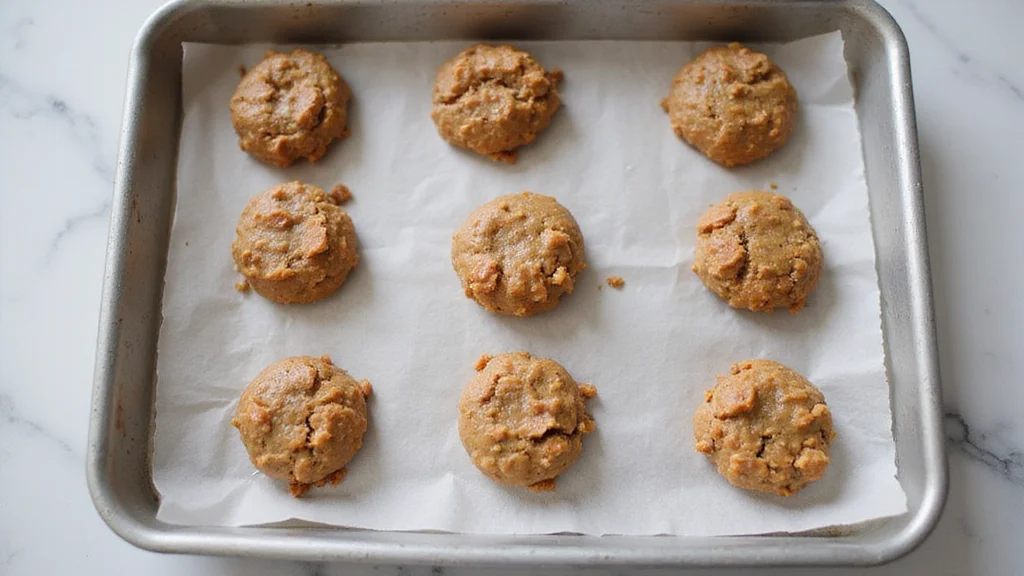
Place shaped treats on a parchment-lined tray.
Refrigerate for at least 30 minutes to firm up the texture.
Chilling helps set the shapes and enhances the flavors.
Ensure treats are evenly spaced to avoid sticking together.
Step 7: Decorate Treats
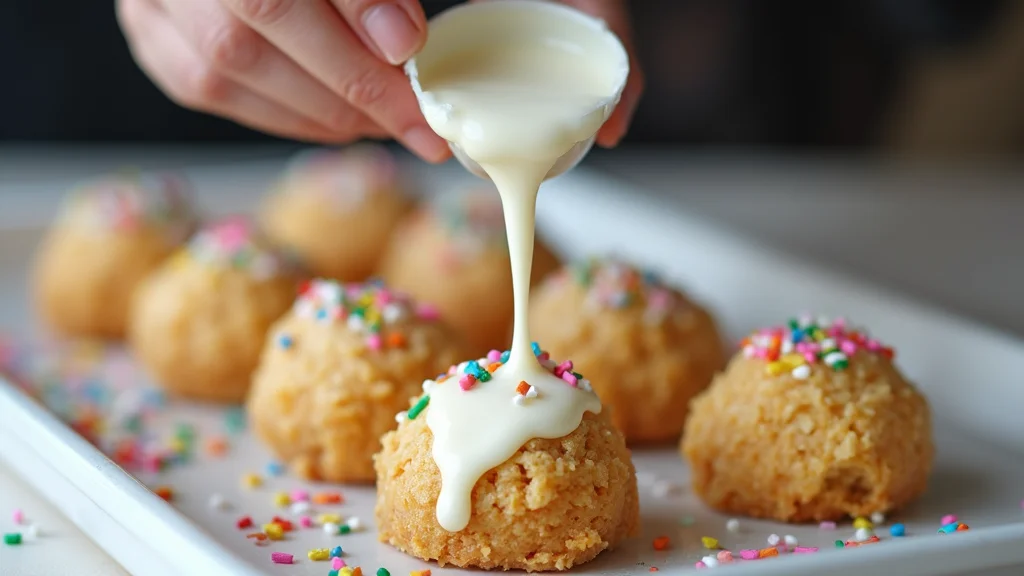
Melt white chocolate chips as done previously.
Drizzle melted white chocolate over chilled treats using a spoon or piping bag.
Immediately sprinkle decorative sprinkles before the chocolate sets.
This step adds a festive touch and extra sweetness.
Step 8: Serve and Enjoy
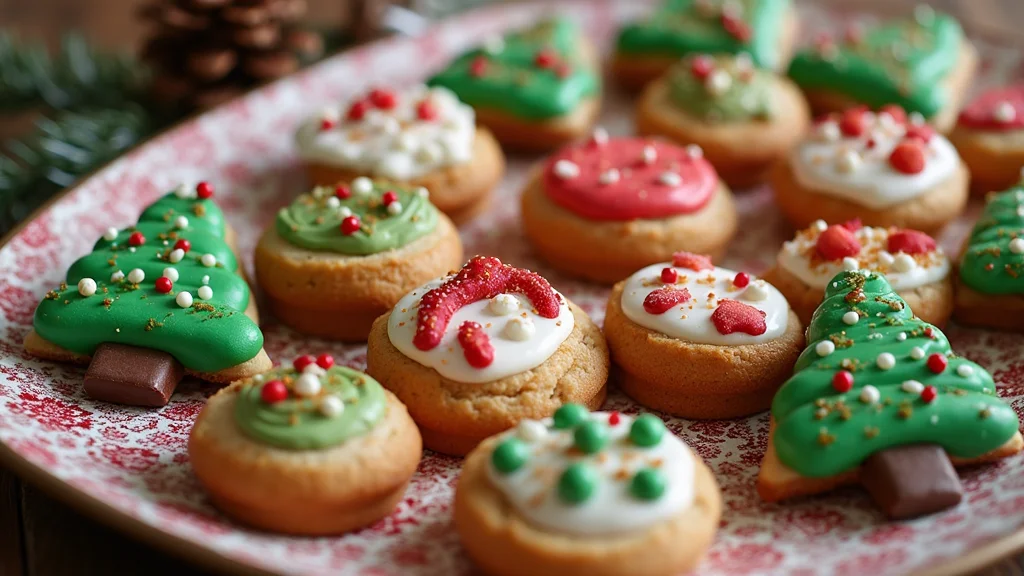
Once decorated, allow chocolate drizzle to set completely.
Arrange treats on a festive platter for serving.
These no-bake delights are ready to be enjoyed by family and friends.
Store any leftovers in an airtight container to maintain freshness.
Critical Timing and Temperature Guide
Chocolate Melting: Melt chocolate at medium heat, stirring every 30 seconds to prevent burning. Look for a glossy, smooth texture.
Chilling Time: Chill treats for at least 30 minutes. Ensure they are firm to the touch before decorating. Avoid opening the refrigerator frequently to maintain a consistent temperature.
Decorating Phase: Drizzle and sprinkle while the chocolate is still soft. If the drizzle hardens too quickly, reheat gently to continue decorating.
Pro Tips for 30 No Bake
• Ingredient Selection: Choose high-quality, natural peanut butter for better flavor and texture in the filling.
• Preparation Secret: Slightly warming the peanut butter helps it mix more smoothly with powdered sugar.
• Temperature Management: Keep the kitchen cool when shaping treats to prevent melting and sticking.
• Texture Enhancement: For added crunch, incorporate chopped nuts or cookie bits into the base mixture.
• Flavor Layering: Add a pinch of sea salt to the filling for a balanced sweet-salty flavor.
• Make-Ahead Strategies: Assemble and chill treats up to two days in advance; decorate just before serving for the freshest appearance.
• Restaurant-Quality Finishing Touches: Dust with cocoa powder or edible glitter for an elegant presentation.
• Equipment Optimization: Use a small cookie scoop for uniform treat sizes, ensuring even chilling and decoration.
Troubleshooting Common Issues
• Texture Too Soft: If treats aren't firm enough, chill for an additional 15 minutes and ensure the filling is not too warm when assembling.
• Chocolate Seized: Overheated chocolate becomes grainy. Add a teaspoon of vegetable oil and stir vigorously to smooth it out.
• Flavors Unbalanced: Taste the filling before assembling and adjust sweetness with more powdered sugar or a dash of salt.
• Sticking to Hands: Lightly wet or oil hands when shaping treats to prevent sticking.
• Uneven Sizes: Use a cookie scoop for uniform sizes, which ensures consistent chilling and appearance.
• Decorations Falling Off: Make sure to apply sprinkles while the chocolate drizzle is still warm and sticky.
Variations and Regional Differences
• Italian Style: Incorporates crushed amaretti cookies for the base and uses espresso powder in the filling for a Tiramisu-inspired flavor.
• Mexican Variation: Adds cinnamon and cayenne pepper to the chocolate base for a spicy-sweet twist.
• Asian Influence: Utilizes matcha powder in the filling for a unique green tea flavor, paired with white chocolate.
• American Classic: Swaps graham crackers for Rice Krispies, creating a marshmallow and chocolate-coated treat similar to a classic Rice Krispie treat.
Food Science Behind the Recipe
• Emulsification: The process of melting chocolate and mixing it with fats like peanut butter creates a stable, smooth texture by evenly distributing fat molecules.
• Crystallization: Properly cooled and set chocolate maintains a shiny finish and firm texture due to the formation of stable crystals within the cocoa butter.
• Hygroscopic Nature of Sugar: Powdered sugar absorbs moisture from the peanut butter, thickening the filling and preventing it from being overly sticky.
Frequently Asked Questions
What's the most common mistake people make when preparing no-bake treats? Overheating the chocolate is a common mistake. It can cause the chocolate to seize, making it difficult to work with.
Can I use a different nut butter? Yes, almond or cashew butter can be used, but they may slightly alter the flavor profile.
How do I store leftover treats? Store in an airtight container in the refrigerator for up to one week to maintain freshness.
Can these treats be frozen? Yes, freeze in a single layer, then transfer to a freezer-safe bag for up to three months. Thaw in the refrigerator before serving.
What if my mixture is too crumbly? Add a tablespoon of melted chocolate or a splash of milk to bind the ingredients better.
Can I make these treats vegan? Substitute chocolate and butter with vegan alternatives to make them vegan-friendly.
How do I prevent my hands from getting messy? Use disposable gloves or slightly dampen your hands with water when shaping the treats.
Serving and Presentation Guide
• Traditional Presentation: Arrange treats on a classic white platter, allowing their colors and textures to stand out.
• Rustic Style: Serve on a wooden board with scattered sprigs of rosemary or pine for a natural, festive look.
• Elegant Display: Stack treats in a pyramid shape on a tiered cake stand, drizzled with extra chocolate for a cascading effect.
• Casual Setting: Place treats in decorative paper cups, perfect for easy serving at parties.
Conclusion
These 30 no-bake Christmas treats offer a delightful way to celebrate the season with family and friends.
With easy-to-follow instructions and kid-friendly preparation, they're perfect for holiday gatherings or cozy nights in.
Embrace the joy of creating delicious, festive treats without the need for an oven and make this season even more magical.