

The holiday season is a time of joy and beauty, and nothing captures this spirit like stunning Christmas flower arrangements.
These arrangements bring a vibrant touch to any festive setting, combining traditional elements with modern flair.
Their appeal lies in their ability to transform ordinary spaces into magical winter wonderlands, reflecting the warmth and joy of the season.
Whether you’re a seasoned florist or a DIY enthusiast, creating your own arrangements can be both rewarding and straightforward.
Join us as we explore how to craft these beautiful decorations that will amaze your guests and elevate your holiday decor.
The History and Cultural Significance
• Stunning & Beautiful traces its origins to Victorian England, where it was originally created by florists to adorn holiday tables.
• The dish evolved over decades as floristry techniques and available plant varieties changed, eventually becoming the beloved version we know today.
• In Western cultures, these arrangements traditionally appear at Christmas gatherings, symbolizing joy, prosperity, and goodwill.
• While many variations exist across different regions, the authentic version maintains a focus on traditional holiday colors and natural elements that set it apart from imitations.
Recommended Products

1. Great Value: These are probably the most affordable floral foam blocks on the market! You can get a total of 6 blocks, each measuring 5.5"L x 3.1"W x 1.6"H. They are ideal for florists, DIY flower arrangement lovers, and gardening enthusiasts

Excellent Material: Our package includes 4 green foam blocks (L 5.5 x W 3.1 x H 1.7inch) for flower arrangements, perfect for flower arrangements and crafts. Our floral foam is highly absorbent and is the frist choice for fresh flowers, silk flowers, artificial flowers and plant displays.

🌼 Round Floral Foam Blocks – Pack of 6 Includes six premium round floral foam blocks (3” x 1.5”) designed for beautiful flower arrangements, DIY crafts, weddings, parties, and home décor projects.
Recipe Overview
Recommended Products

Floral Foam Blocks: A total of 6 soft, fine and odorless foam each about the size of a typical brick is included in the pack. They are ideal for retailer floral art, décor, DIY, ASMR, and gardening

FLORALIFE CRYSTAL CLEAR: A powder flower food that creates a clear vase solution, designed as the final step before display, helping fresh-cut flowers open properly and enhance flower color. Ideal for vase and floral foam arrangements, keeping flowers looking optimal for maximum enjoyment.

Keeps Flowers Fresh and Hydrated: Saturates completely and evenly to support long-lasting floral arrangements.
Nutritional Information (per serving)
Recommended Products

HIGH STRENGTH&SUPER SHARP: Made of high carbon steel: High hardness and proper toughness, Such scissors are very sharp, durable and high wear resistance.

Reduce Hand Strain: These micro tip snips are made to reduces hand fatigue which makes them great for those with arthritis, carpal tunnel, hand or wrist issues; Comfortable “grip” handles will make it easy to work for long-time use without making you feel hand pain

CLEAN CUTS FOR LIVE GROWTH: Bypass blade design is ideal for pruning delicate flower stems and green growth, helping reduce crushing and plant damage while cutting stems and small branches up to 5/8” in diameter
Essential Equipment Guide
Floral Foam: This tool is crucial for keeping flowers hydrated and in place, ensuring the longevity and stability of your arrangement. Alternatives like floral tape can work for smaller projects, but foam is best for larger displays. Look for water-absorbent foam specifically designed for fresh flowers.
Pruning Shears: Essential for cutting stems cleanly without damaging them, which is important for water absorption. Scissors can be used in a pinch, but specialized shears offer more precision. Choose shears with a comfortable grip and sharp blades.
Vase or Container: The base of your arrangement, it determines the structure and style. While any container can be used, those with a wide mouth and sturdy base work best. Consider clear glass for a modern look or ceramic for a traditional feel.
Ingredients
For the Base
|
| Amount | Ingredient | Notes |
|---|---|---|
| 1 piece | floral foam | soaked in water for hydration |
| 1 large | vase or container | provides structure |
Flowers
| Amount | Ingredient | Notes |
|---|---|---|
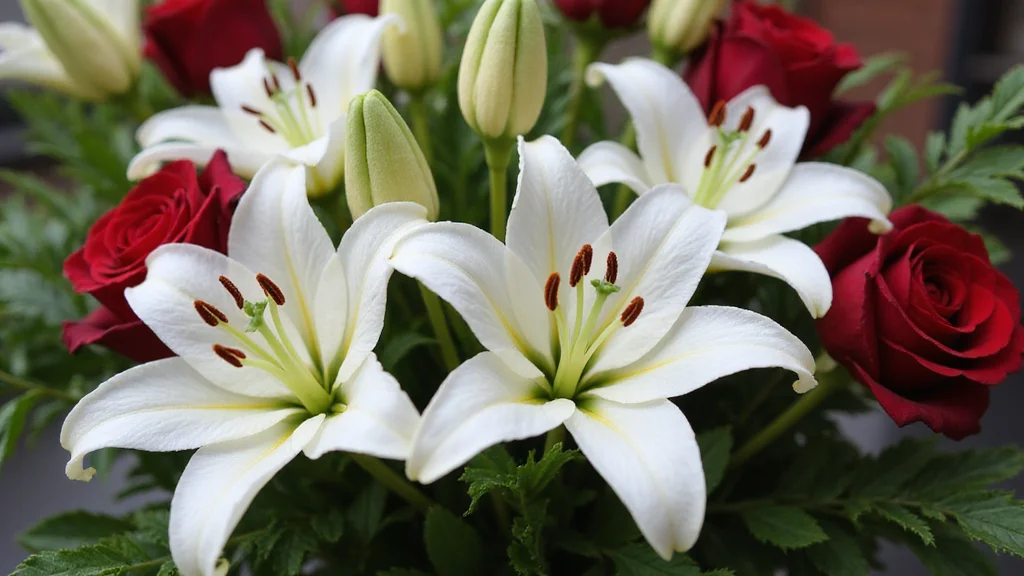
| 5 stems | red roses | symbol of love and warmth |
| 3 stems | white lilies | adds elegance |
| 7 stems | holly leaves | traditional festive greenery |
Decorations
| Amount | Ingredient | Notes |
|---|---|---|
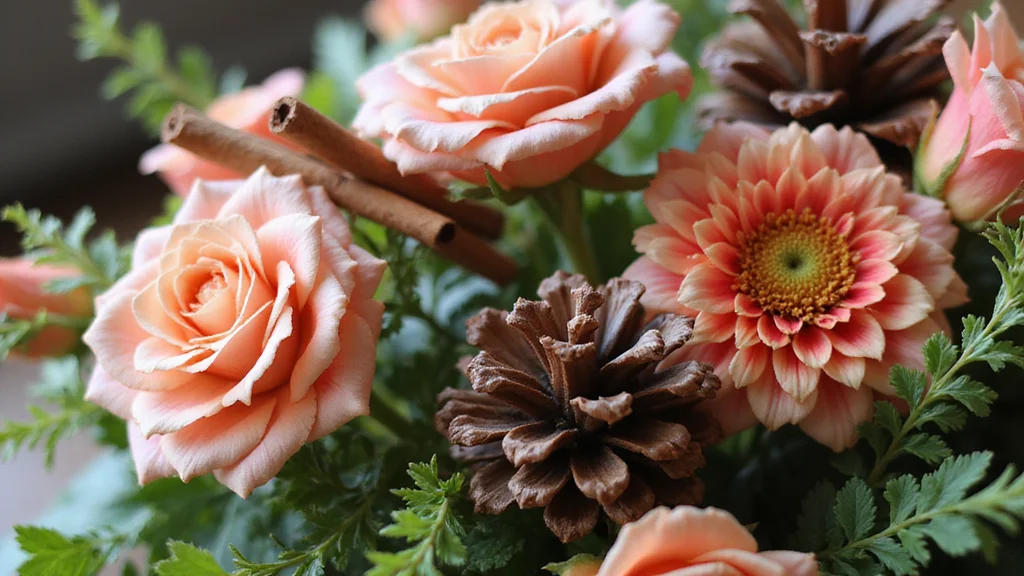
| 3 pieces | pine cones | adds natural texture |
| 5 pieces | cinnamon sticks | for a subtle festive scent |
| 1 strand | string lights | battery-operated for safety |
Preparation Methods
Soaking Floral Foam: Submerge the foam in a bucket of water and allow it to soak without pushing it down. Proper soaking ensures the foam is fully hydrated, supporting the flowers' longevity. Be patient and let it sink naturally, which can take up to 10 minutes.
Trimming Stems: Use pruning shears to cut stems at a 45-degree angle for better water absorption. This technique is crucial for maintaining flower freshness. Cut just before arranging to ensure optimal water uptake.
Layering Elements: Start with greenery, followed by larger blooms, and finish with decorative items. This technique creates depth and balance in your arrangement. Always step back to view overall balance and adjust as needed.
Step 1: Prepare Your Work Area

Start by clearing a large, flat surface to work on.
Lay down a protective cloth or newspaper to catch any debris.
Gather all your materials and tools within easy reach.
Ensure good lighting so you can see your arrangement clearly.
Step 2: Soak the Floral Foam
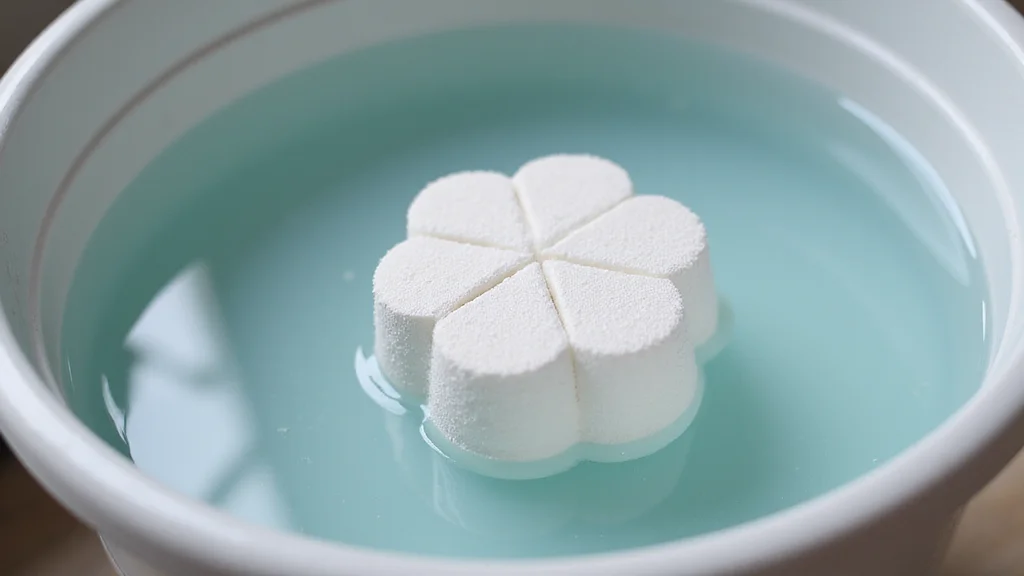
Fill a bucket with water and place the floral foam on the surface.
Allow it to soak naturally until it is fully submerged and saturated.
This process can take about 10 minutes, so be patient.
Avoid pressing the foam down, as this can leave dry spots.
Step 3: Prepare the Container
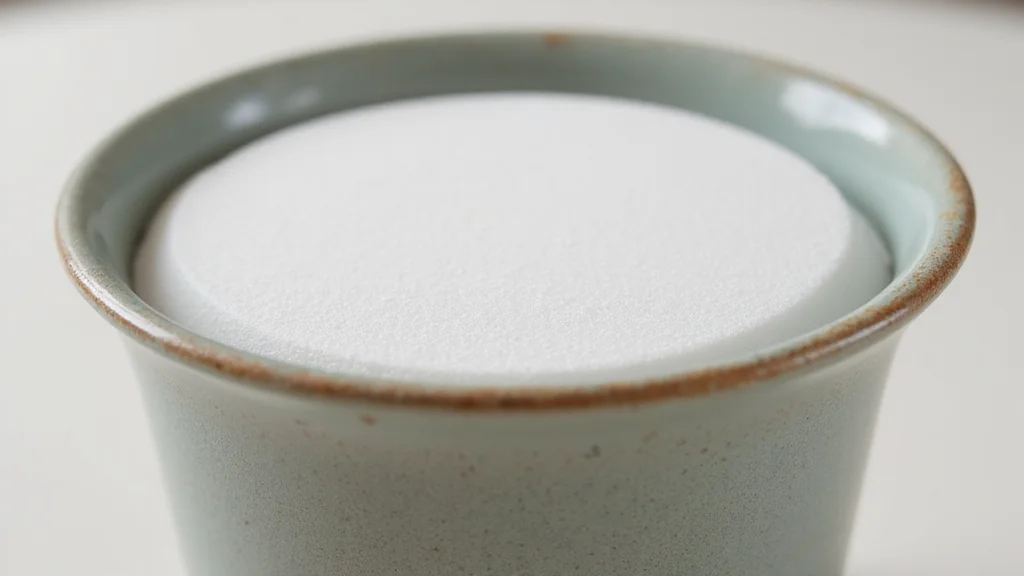
Select a vase or container that complements your theme.
Place the soaked floral foam snugly inside the container.
Trim the foam as needed to ensure a tight fit.
This will provide a secure base for your arrangement.
Step 4: Trim the Flower Stems
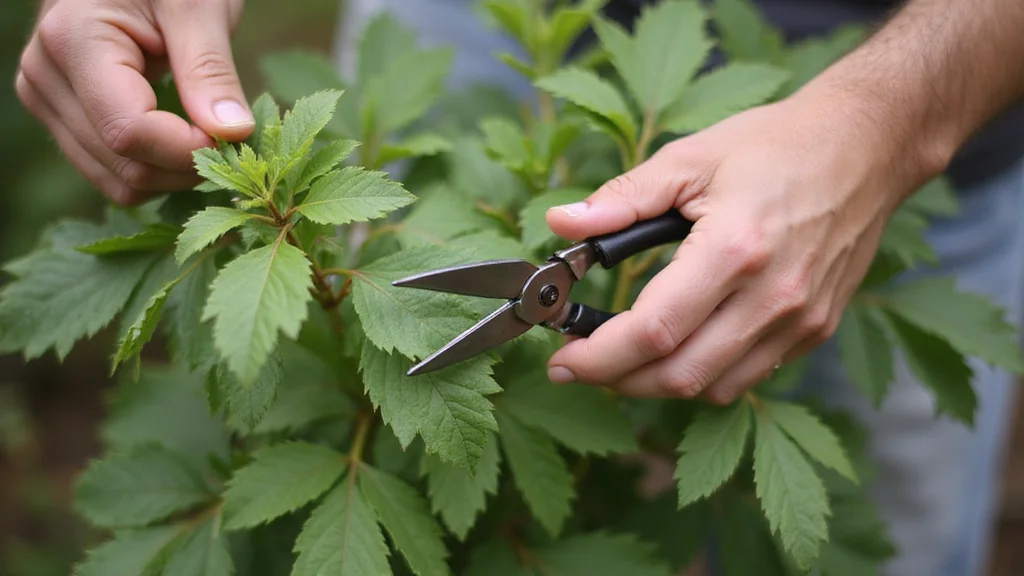
Take each flower and trim the stem at a 45-degree angle.
This angle helps the flower absorb water more efficiently.
Remove any leaves that will be below the water line to prevent rot.
Prepare all flowers before starting to arrange.
Step 5: Begin with Greenery

Start by inserting holly leaves around the edges of the foam.
Position them at various angles to create a base layer of greenery.
This provides structure and coverage for the arrangement.
Ensure even distribution for a balanced look.
Step 6: Add Larger Blooms

Insert the red roses into the foam, spacing them evenly.
Vary the heights slightly to add dimension and interest.
Position them near the center, as they are the focal point.
Step back frequently to ensure visual balance.
Step 7: Incorporate White Lilies
Place white lilies between the roses, creating contrast.
Adjust the angle of each lily for a natural appearance.
These should be slightly taller than the roses to add height.
Ensure they are securely anchored in the foam.
Step 8: Add Decorative Elements
Nestle pine cones and cinnamon sticks among the flowers.
Use them sparingly to avoid overwhelming the arrangement.
These elements add texture and a festive scent.
Secure with floral wire if needed for stability.
Step 9: Finalize with String Lights

Gently drape battery-operated string lights around the arrangement.
Ensure the battery pack is hidden and accessible for operation.
Use the lights to highlight key areas and create ambiance.
Check for even distribution and adjust as needed.
Critical Timing and Temperature Guide
Soaking Floral Foam: Soak the foam for approximately 10 minutes until fully saturated. Avoid pressing down to prevent dry spots. Ensure the foam is fully submerged naturally.
Trimming and Inserting Stems: Trim stems just before inserting them into the foam to maximize water absorption. Ensure cuts are clean and at a 45-degree angle. Avoid overcrowding to prevent crushing stems.
Adding Decorations: Apply decorations evenly throughout the arrangement. Monitor the arrangement over time to ensure decorations remain secure. Avoid overloading with heavy items that might destabilize the base.
Pro Tips for Stunning & Beautiful
• Ingredient Selection: Choose fresh, vibrant flowers and greenery for the best results. Red roses and white lilies are key for a classic look.
• Preparation Secret: Soak floral foam thoroughly and trim stems at an angle to enhance longevity and water uptake.
• Temperature Management: Keep the arrangement away from direct sunlight and heat sources to preserve freshness.
• Texture Enhancement: Use a mix of smooth and textured elements like roses and pine cones for visual interest.
• Flavor Layering: Incorporate cinnamon sticks for a subtle scent that enhances the festive atmosphere.
• Make-Ahead Strategies: Prepare the base and greenery a day ahead, keeping them in cool conditions to ensure freshness.
• Restaurant-Quality Finishing Touches: Add battery-operated string lights for a professional touch that adds warmth and sparkle.
• Equipment Optimization: Ensure pruning shears are sharp for clean cuts that promote healthy flower hydration.
Troubleshooting Common Issues
• Flowers Wilt Quickly: This can happen if stems are not trimmed correctly or foam is not fully saturated. Always cut stems at an angle and ensure foam is thoroughly soaked.
• Arrangement Looks Unbalanced: Step back regularly to check symmetry and adjust elements as needed for a visually pleasing result.
• Decorations Fall Out: Secure loose items with floral wire or adhesive to maintain their position.
• Foam Dries Out: Check foam moisture regularly and add water to the container as needed to keep it hydrated.
• Colors Clash: Stick to a cohesive color palette, emphasizing traditional holiday hues like red, green, and white.
• Arrangement Lacks Depth: Use varying heights and textures in your elements to create a sense of depth and dimension.
Variations and Regional Differences
• Scandinavian Minimalist: Focuses on simplicity with white flowers, birch branches, and moss, reflecting a serene winter aesthetic.
• Italian Opulence: Incorporates rich red and gold tones with additional elements like poinsettias and ornate ribbons for a luxurious feel.
• British Traditional: Uses holly, ivy, and red berries, emphasizing classic elements seen in Victorian holiday decor.
• American Rustic: Features a mixture of evergreens, burlap ribbons, and natural wood accents for a cozy, homestead vibe.
Food Science Behind the Recipe
• Water Absorption: Understanding how floral foam absorbs water helps ensure flowers stay hydrated and fresh longer.
• Stem Cutting Technique: Cutting stems at a 45-degree angle increases the surface area for water uptake, crucial for flower freshness.
• Temperature Impact: Cold temperatures slow down flower metabolism, extending their lifespan, while heat can cause premature wilting.
Frequently Asked Questions
What's the most common mistake people make when preparing Christmas flower arrangements? The most common mistake is not soaking the floral foam thoroughly, leading to uneven hydration and shorter flower lifespan.
How can I ensure my flowers last throughout the holiday season? Regularly check the water level, keep the arrangement away from heat sources, and trim stems every few days to maintain freshness.
Can I use artificial flowers in my arrangement? Yes, artificial flowers can be used for a longer-lasting display, especially in high-traffic areas.
What type of container is best for these arrangements? A sturdy container with a wide mouth is ideal to support the arrangement and provide sufficient space for the foam and water.
How do I prevent decorations from falling out? Use floral wire or adhesive to secure decorations in place, ensuring they remain stable over time.
Is it possible to make these arrangements in advance? Yes, you can prepare the base and some elements a day or two in advance, keeping them cool and hydrated for best results.
How do I choose the right flowers for my arrangement? Select fresh flowers with vibrant colors and avoid blooms with brown edges or wilting petals for the best aesthetic and longevity.
Serving and Presentation Guide
• Traditional Presentation: Arrange in a central position on the dining table, using a table runner or cloth to complement the arrangement's colors.
• Modern Twist: Use clear glass containers and incorporate metallic elements like silver or gold accents for a contemporary look.
• Outdoor Display: Use weather-resistant materials and place arrangements on porches or patios to welcome guests with festive cheer.
• Layered Approach: Create varying heights with stacked books or boxes under the cloth to add dimension to the display.
Conclusion
Creating stunning Christmas flower arrangements is a delightful way to express your creativity and bring holiday cheer to your home.
With these simple DIY tips, you can craft beautiful displays that reflect the joy and warmth of the season.
We hope you feel inspired to try making your own arrangements and see the magic they bring to your festive celebrations.