
When the clock strikes noon and hunger pangs kick in, a simple chickpea salad sandwich filler can be your lunchtime lifesaver.
Packed with flavor and nutrients, this dish offers a satisfying and healthy alternative to traditional sandwich fillers.
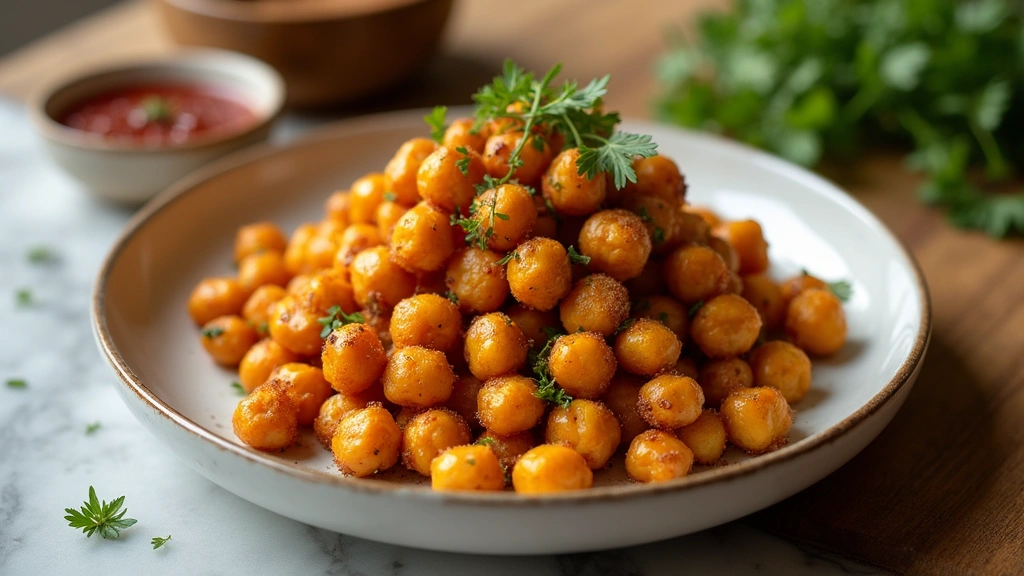
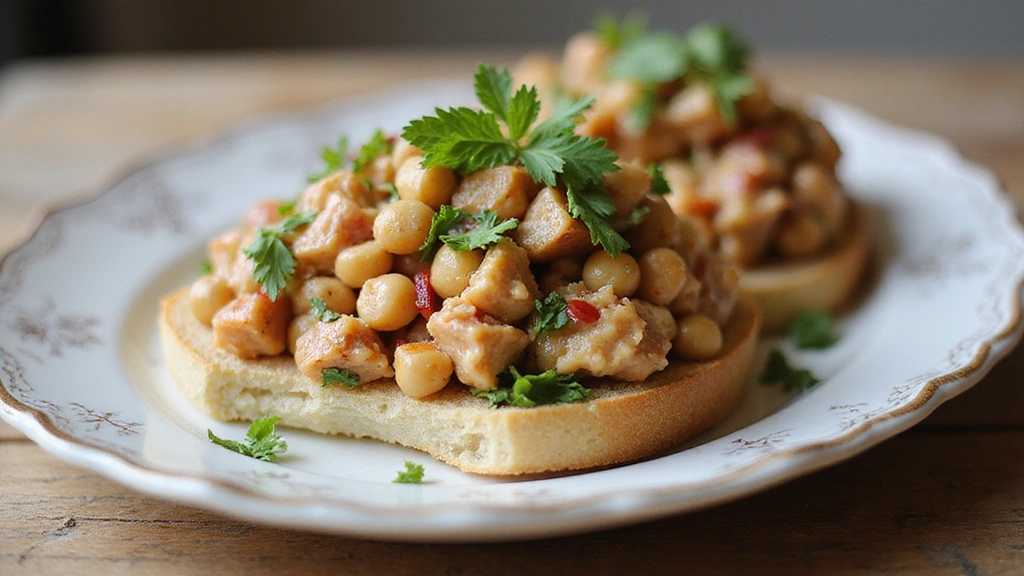
The creamy, zesty combination of mashed chickpeas, crunchy vegetables, and tangy dressing will delight your taste buds with every bite.
I stumbled upon this recipe during a busy work week when I needed something quick, easy, and delicious to power through the day.
Whether you’re a busy professional or a parent on the go, this chickpea salad is sure to become a staple in your lunch rotation.
It’s a versatile, plant-based option that’s perfect for those looking to add more legumes to their diet.
The History and Cultural Significance
• Lunchtime Lifesaver: The traces its origins to the Mediterranean region, where it was originally created by local chefs in the pursuit of healthy, plant-based meals.
• The dish evolved over decades as chickpeas became more accessible worldwide, eventually becoming the beloved version we know today.
• In Mediterranean culture, this dish traditionally appears at picnics and casual gatherings, symbolizing the importance of fresh, wholesome ingredients.
• While many variations exist across different regions, the authentic version maintains a balance of creaminess and crunch that sets it apart from imitations.
Recommended Products

Recipe Overview
Recommended Products

Amazing Chickpea Spread tastes delicious, use as a substitute for peanut butter
Amazing Chickpea Spread tastes delicious, use as a substitute for peanut butter

Amazing Chickpea Spread tastes delicious, use as a substitute for peanut butter
Nutritional Information (per serving)
Essential Equipment Guide
Mixing Bowl: A good quality mixing bowl is essential for combining ingredients evenly. Look for a bowl with a non-slip base to prevent spills, or use a damp cloth underneath a regular bowl.
Potato Masher: This tool helps achieve the perfect texture for the chickpeas. Alternatively, you can use a fork, but a masher provides more consistency and ease of use.
Spatula: A silicone spatula is ideal for mixing ingredients without scratching your bowl. Ensure it has a sturdy handle for better control.
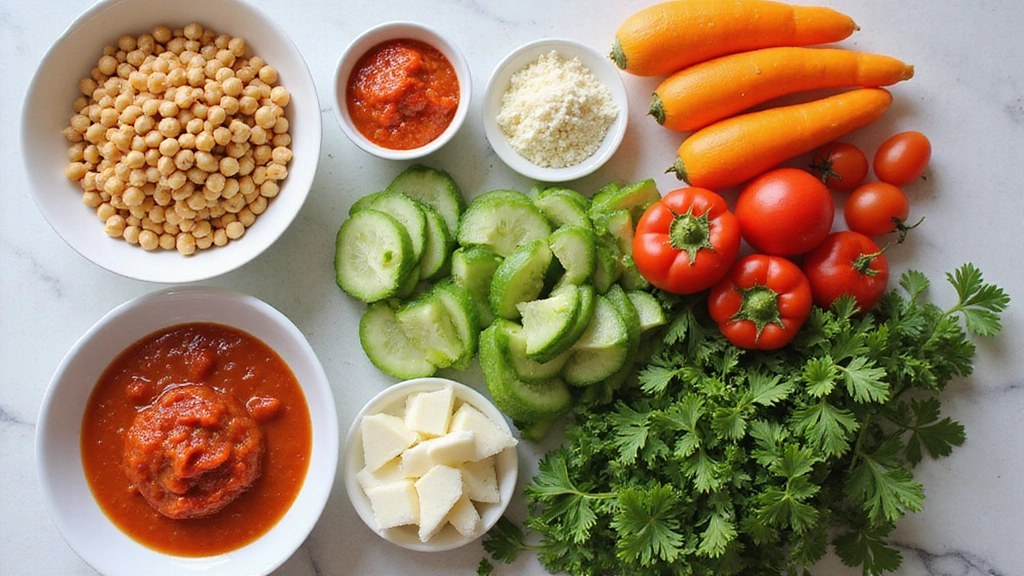
Ingredients
For the Base
|
| Amount | Ingredient | Notes |
|---|---|---|
| 2 cups | canned chickpeas | drained and rinsed, main protein source |
| 2 tablespoons | mayonnaise | adds creaminess |
Vegetables
| Amount | Ingredient | Notes |
|---|---|---|
| 1 small | red onion | finely chopped for crunch |
| 1 large | celery stalk | diced for freshness |
Seasonings
| Amount | Ingredient | Notes |
|---|---|---|
| 1 teaspoon | lemon juice | adds tanginess |
| 1 teaspoon | dijon mustard | for a slight kick |
| 0.5 teaspoon | salt | enhances flavor |
| 0.25 teaspoon | black pepper | for seasoning |
Herbs
| Amount | Ingredient | Notes |
|---|---|---|
| 2 tablespoons | fresh parsley | chopped for freshness |
Preparation Methods
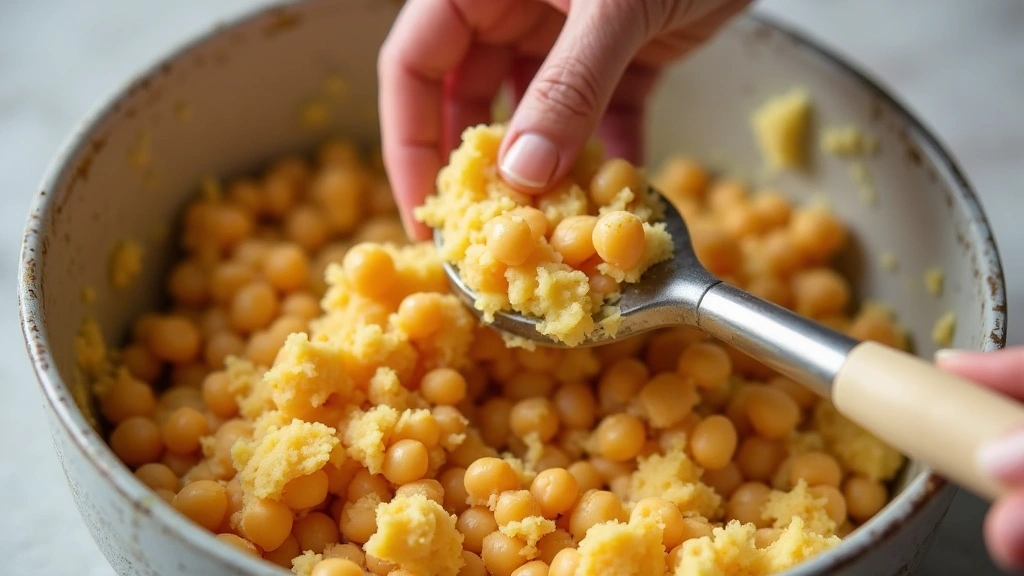
Mashing Chickpeas: Mashing chickpeas is crucial to achieve the right texture for the salad. Use a potato masher or a fork, pressing down firmly until most chickpeas are broken down with some whole ones left for texture. This technique helps the chickpeas absorb flavors better.
Chopping Vegetables: Properly chopped vegetables ensure even distribution throughout the salad. Use a sharp knife to dice the celery and onion finely, which helps maintain a consistent texture and allows the flavors to meld perfectly.
Balancing Flavors: Achieving the right balance of flavors is key. Taste as you go and adjust seasonings according to preference. Start with small amounts of salt and lemon juice, adding more if needed to elevate the taste.
Step 1: Prepare Ingredients
Gather all ingredients for easy access.
Drain and rinse canned chickpeas under cold water.
Finely chop the red onion and celery.
Chop fresh parsley into small pieces.
Step 2: Mash Chickpeas
Place chickpeas in a large mixing bowl.
Use a potato masher to mash the chickpeas until mostly smooth, leaving some whole pieces for texture.
Ensure the chickpeas are evenly mashed for consistent flavor distribution.
Avoid over-mashing to keep a slight crunch.
Step 3: Add Vegetables
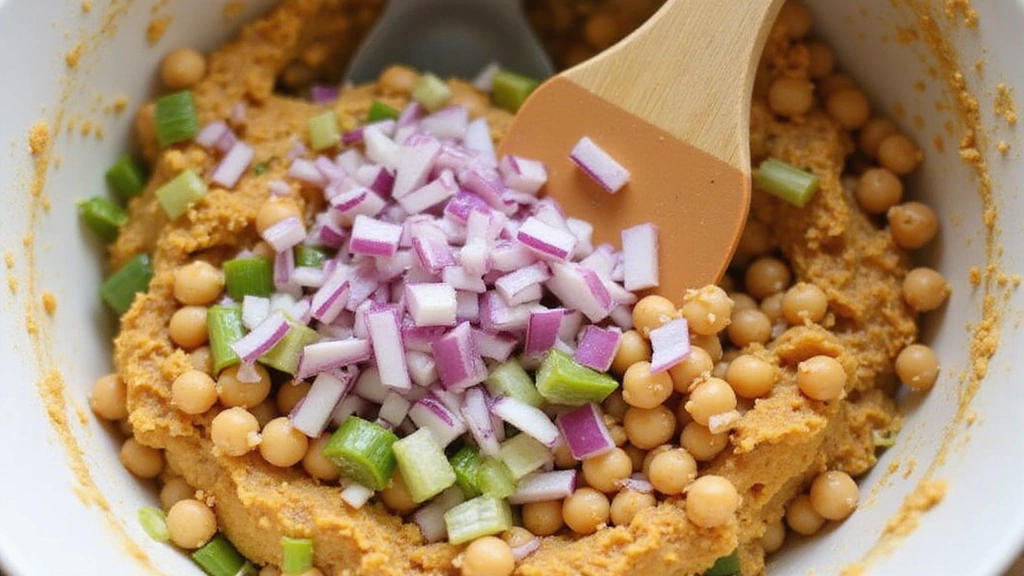
Add chopped red onion and celery to the mashed chickpeas.
Use a spatula to gently fold the vegetables into the chickpeas.
Ensure the vegetables are evenly distributed throughout the mixture.
Be careful not to overmix to maintain the texture.
Step 4: Incorporate Seasonings
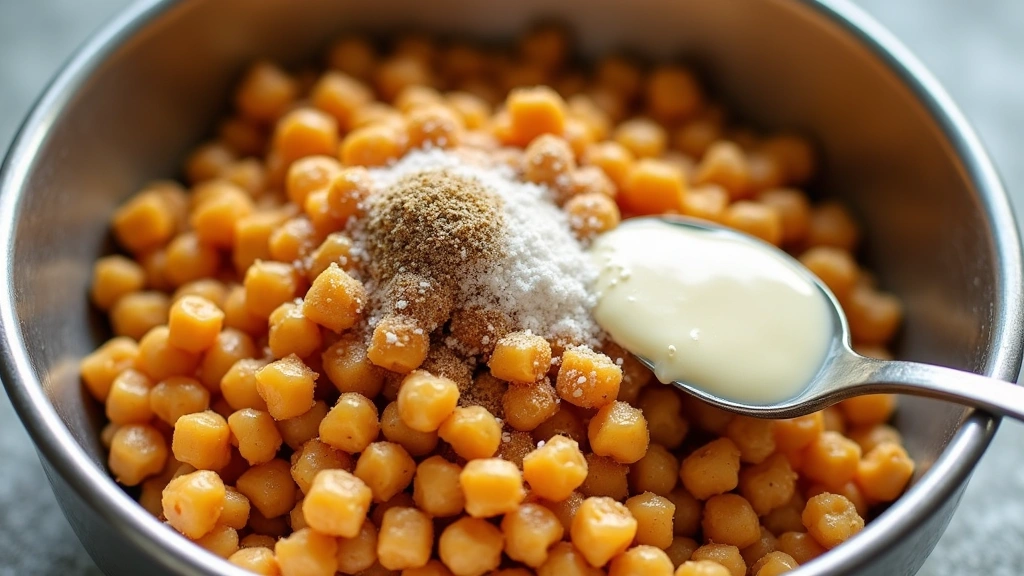
Add mayonnaise, lemon juice, and dijon mustard to the mixture.
Sprinkle salt and black pepper over the top.
Gently fold the seasonings into the chickpea and vegetable mix.
Taste and adjust seasonings if necessary for balance.
Step 5: Mix in Fresh Herbs
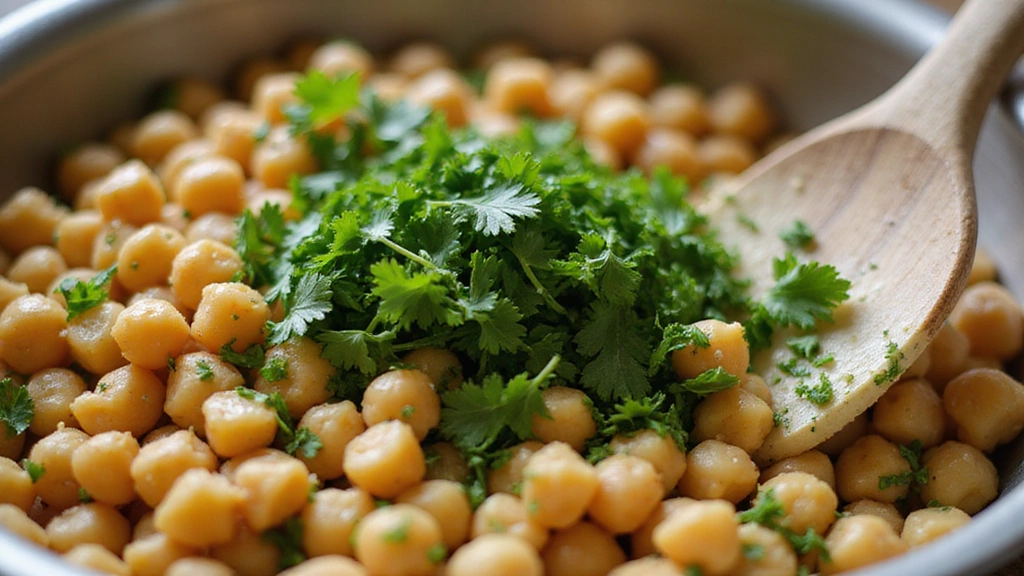
Add chopped parsley to the mixture for freshness.
Use a spatula to fold the herbs into the salad evenly.
Ensure the parsley is well distributed for a burst of flavor in every bite.
Avoid overmixing to preserve herb integrity.
Step 6: Taste and Adjust
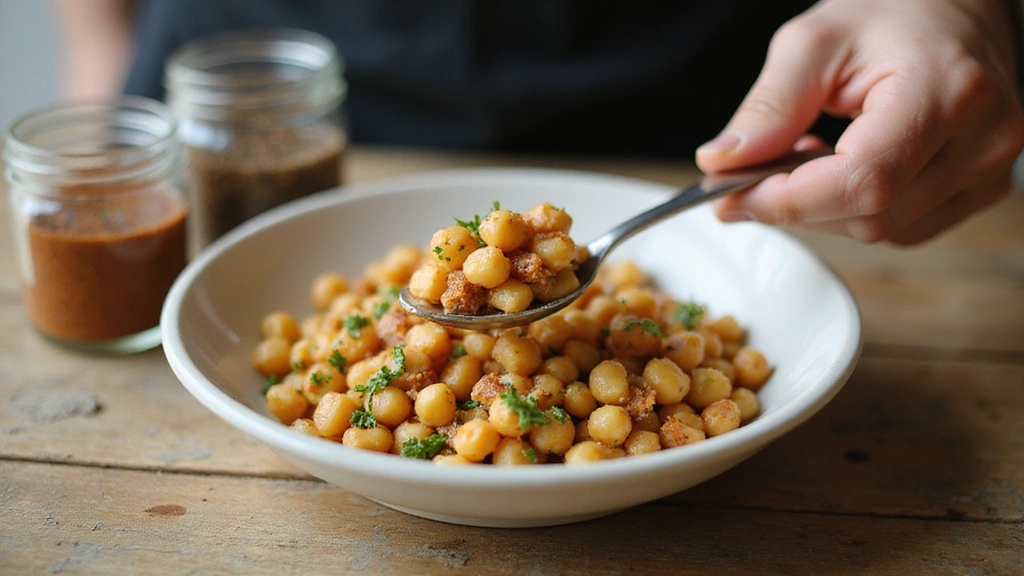
Taste the chickpea salad for flavor balance.
Add more salt, pepper, or lemon juice if needed.
Stir slightly to incorporate any additional seasonings.
Ensure a harmonious blend of flavors before serving.
Step 7: Prepare the Sandwich
Choose your favorite bread or sandwich roll.
Spread a generous amount of chickpea salad onto one slice.
Top with lettuce or tomato slices if desired.
Close the sandwich with another bread slice and press gently.
Step 8: Serve and Enjoy
Cut the sandwich in half for easier handling.
Arrange on a plate with a side of fresh vegetables or chips.
Garnish with a sprig of parsley for presentation.
Serve immediately for the best flavor and texture.
Critical Timing and Temperature Guide
Mashing Chickpeas: Mash for about 2-3 minutes until the desired texture is achieved. Avoid over-mashing to prevent a pasty consistency.
Chilling the Salad: If preparing ahead, chill the salad for up to 30 minutes for flavors to meld. Avoid leaving it out too long as it can become dry.
Serving Temperature: Serve the chickpea salad at room temperature for optimal flavor. Cold temperatures can dull the taste.
Pro Tips for Lunchtime Lifesaver: The
• Ingredient Selection: Opt for organic canned chickpeas and fresh, crisp vegetables to enhance the salad's flavor and texture.
• Preparation Secret: Lightly toasting the bread adds a delightful crunch and prevents it from becoming soggy.
• Temperature Management: Ensure chickpeas are at room temperature before mashing for better consistency.
• Texture Enhancement: Leave some chickpeas whole for a more varied texture in each bite.
• Flavor Layering: Incorporate a pinch of smoked paprika for a subtle depth of flavor that enhances the overall profile.
• Make-Ahead Strategies: Prepare the salad up to a day in advance and store it in an airtight container in the fridge.
• Restaurant-Quality Finishing Touches: Add microgreens or a drizzle of olive oil on top for a gourmet presentation.
• Equipment Optimization: Use a rubber spatula for mixing to prevent ingredient loss and maintain a clean bowl.
Troubleshooting Common Issues
• Texture Too Dense: If the salad feels heavy, add a bit more lemon juice or a spoonful of yogurt to lighten it up.
• Flavors Unbalanced: If the salad is too tangy, add a pinch of sugar to mellow the acidity.
• Salad Too Dry: If the mixture seems dry, add an extra tablespoon of mayonnaise or a splash of olive oil.
• Overly Salty: If over-salted, incorporate more mashed chickpeas to balance the flavor.
• Veggies Not Crisp: Ensure vegetables are fresh and chill them in ice water before chopping to maintain crispness.
Variations and Regional Differences
• Greek Style: Incorporates feta cheese and olives for a Mediterranean twist, enhancing the dish with salty and creamy elements.
• Middle Eastern Twist: Adds tahini and sumac, providing an authentic Middle Eastern flavor profile with a creamy, nutty taste.
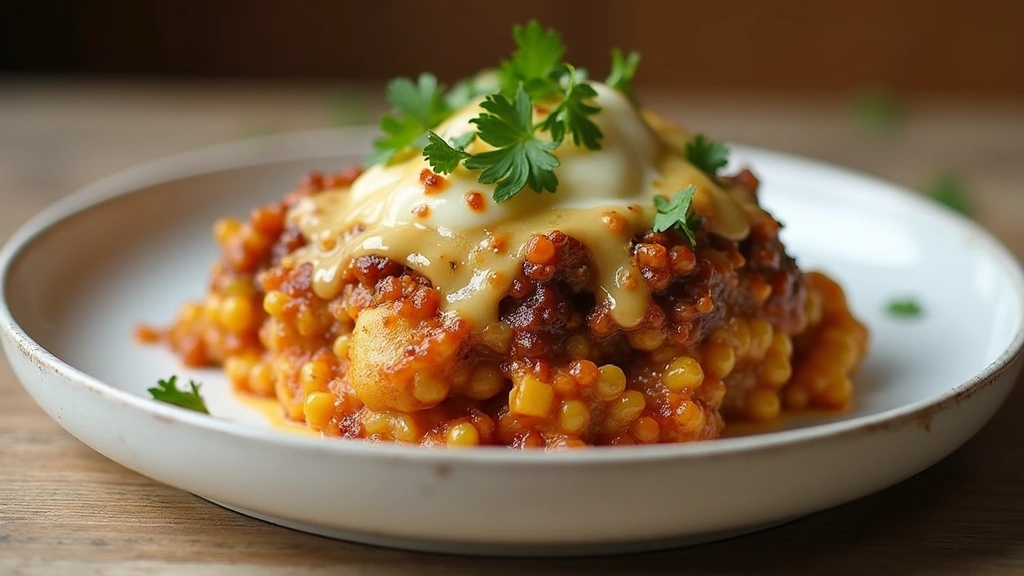
• Spicy Southwest: Includes jalapeños and corn for a spicy, sweet version that brings a touch of the American Southwest to your table.
• Indian Fusion: Features curry powder and cilantro, offering a unique blend of Indian spices for a fragrant, aromatic salad.
Food Science Behind the Recipe
• Emulsification: The mayonnaise acts as an emulsifier, binding the ingredients and giving the salad a creamy consistency.
• Flavor Absorption: The mashed chickpeas absorb flavors quickly, which is why resting the salad enhances the taste.
• Textural Contrast: The mixture of mashed and whole chickpeas creates a pleasing textural contrast that makes the salad more enjoyable.
Frequently Asked Questions
What's the most common mistake people make when preparing chickpea salad? Over-mashing the chickpeas, leading to a pasty texture instead of the desired chunky consistency.
Can I make this salad vegan? Yes, simply substitute mayonnaise with a vegan alternative like avocado or hummus.
How long does chickpea salad last? It can be stored in the refrigerator for up to 3 days in an airtight container.
Can I use dried chickpeas instead of canned? Yes, just ensure they are cooked and softened before mashing.
What bread pairs best with chickpea salad? Whole grain or sourdough bread complements the flavors well.
Can I add other ingredients? Absolutely, feel free to add ingredients like avocados, cucumbers, or roasted red peppers for variety.
What if I don't have lemon juice? Vinegar can be used as a substitute, though it may slightly alter the flavor profile.
Serving and Presentation Guide
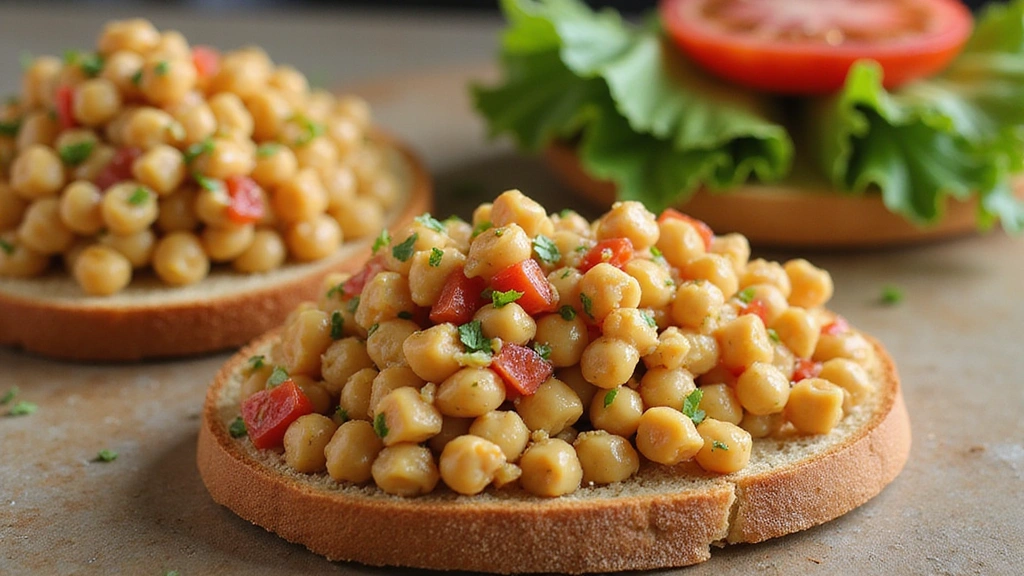
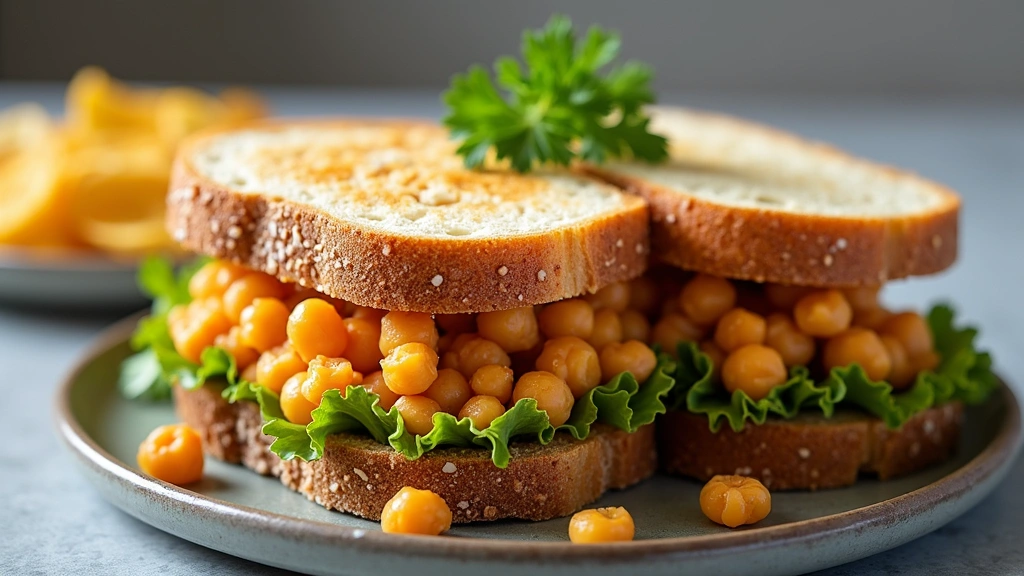
• Traditional Presentation: Serve in a sandwich with lettuce and tomato slices.
• Open-Faced Style: Present on a single slice of toasted bread with a sprinkle of paprika.
• On a Bed of Greens: Serve over a bed of mixed greens for a light, refreshing salad.
• In Lettuce Wraps: Use large lettuce leaves as wraps for a low-carb option.
Conclusion
This chickpea salad sandwich filler is a delightful, nutritious choice for any lunch menu.
Its versatility and ease of preparation make it a go-to recipe for busy days.
Give this recipe a try and elevate your lunchtime routine with a dish that's both satisfying and flavorful.