
Roasting garlic is a simple yet transformative technique that elevates the humble bulb into a sweet, caramelized delicacy.
The soft, buttery cloves add depth and complexity to everything from sauces to spreads.
I first discovered the magic of roasted garlic while dining at a cozy Italian trattoria, where it was served as a savory appetizer alongside warm bread.
Whether you’re enhancing a dish or enjoying it on its own, roasted garlic is a versatile ingredient with a rich flavor profile.
This guide will walk you through the stress-free steps to achieve perfectly roasted garlic every time.
Contents
- The History and Cultural Significance
- Recipe Overview
- Nutritional Information (per serving)
- Essential Equipment Guide
- Ingredients
- Preparation Methods
- Step 1: Prepare Garlic
- Step 2: Drizzle with Olive Oil
- Step 3: Season with Salt
- Step 4: Wrap in Foil
- Step 5: Preheat the Oven
- Step 6: Roast the Garlic
- Step 7: Cool and Unwrap
- Step 8: Serve or Store
- Critical Timing and Temperature Guide
- Pro Tips for The Flavor Foundation
- Troubleshooting Common Issues
- Variations and Regional Differences
- Food Science Behind the Recipe
- Frequently Asked Questions
- Serving and Presentation Guide
The History and Cultural Significance
• The Flavor Foundation: traces its origins to ancient Mediterranean cuisines, where it was originally created by early cooks for its health benefits and flavor.
• The dish evolved over decades as culinary techniques improved, eventually becoming the beloved version we know today.
• In Italian and French cultures, this dish traditionally appears at family gatherings, symbolizing warmth and hospitality.
• While many variations exist across different regions, the authentic version maintains its soft, spreadable texture that sets it apart from imitations.
Recipe Overview
Nutritional Information (per serving)
Essential Equipment Guide
Baking Dish: A small baking dish is essential for trapping heat and allowing the garlic to roast evenly. Alternatives include a small cast iron skillet or a muffin tin; look for a size that fits snugly around the garlic heads.
Aluminum Foil: Aluminum foil is crucial for sealing in moisture and heat, ensuring the garlic roasts to a tender perfection. Parchment paper can work in a pinch, but foil provides a better seal.
Sharp Knife: A sharp knife is important for cleanly slicing the top off each head of garlic, exposing the cloves. Look for knives with a thin, sharp blade to minimize crushing the cloves.
Ingredients
For Roasting
|
| Amount | Ingredient | Notes |
|---|---|---|
| 4 heads | garlic | whole, with tops cut off to expose cloves |
| 2 tablespoons | olive oil | drizzled for richness |
| 1 pinch | salt | enhances natural sweetness |
Preparation Methods
Drizzling Technique: Drizzling olive oil over the exposed garlic cloves ensures they remain moist and tender during roasting. Pour slowly and steadily to evenly coat the surface.
Foil Wrapping: Wrapping garlic in foil traps steam, helping to evenly roast and soften the cloves. Ensure the foil is sealed tightly around the garlic to prevent moisture escape.
Roasting: Roasting at a consistent low temperature caramelizes the sugars in the garlic, enhancing its sweetness. Monitor closely to avoid burning, which can result in a bitter taste.
Step 1: Prepare Garlic
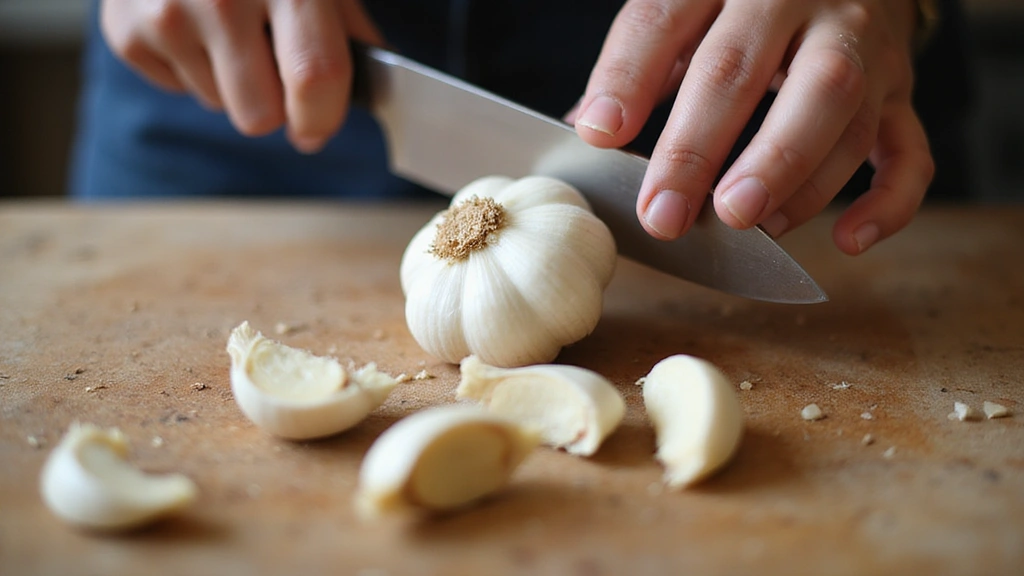
Cut the top quarter off each garlic head to expose the cloves.
Remove any loose outer layers of skin.
Ensure the cloves remain intact and connected to the base.
Use a sharp knife to avoid crushing the cloves.
Step 2: Drizzle with Olive Oil
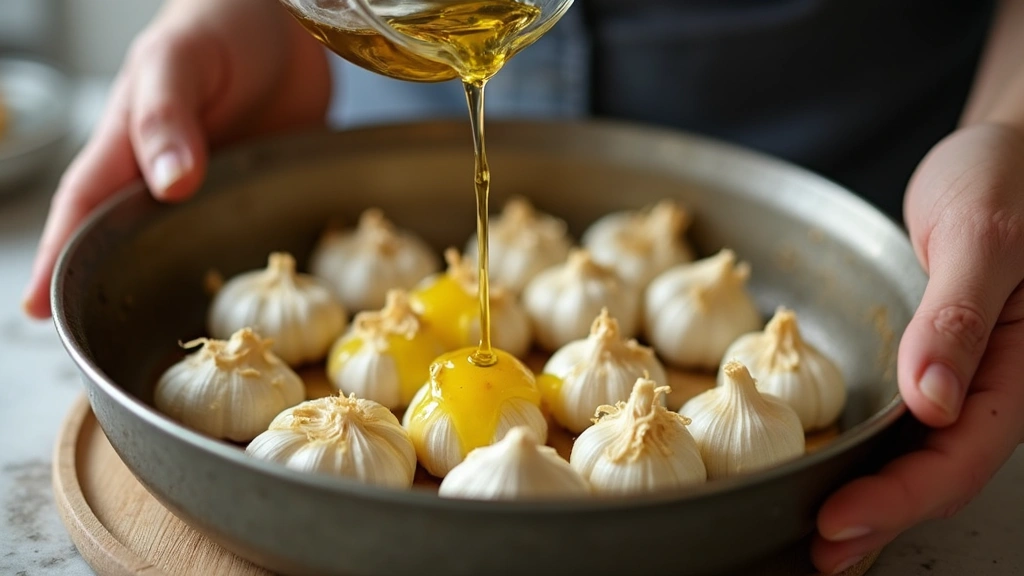
Place the garlic heads in a small baking dish, cut-side up.
Drizzle each head with olive oil, ensuring all exposed cloves are coated.
Allow the oil to seep into the cloves for added moisture.
Use a steady hand to distribute the oil evenly.
Step 3: Season with Salt
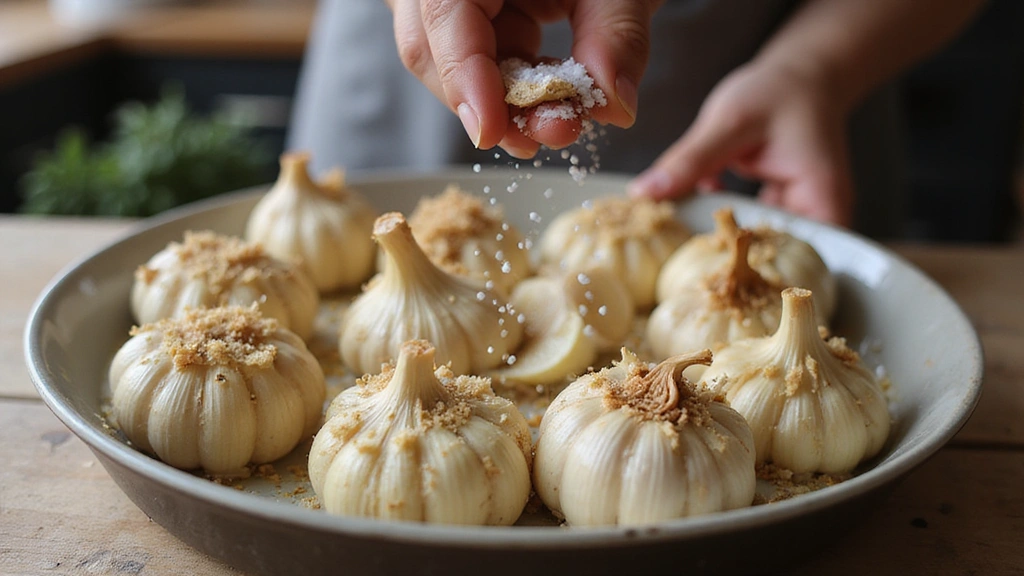
Sprinkle a pinch of salt over the tops of the garlic heads.
Ensure each clove has a light dusting for flavor enhancement.
Avoid oversalting, as it can overpower the sweetness.
Gently tap the dish to distribute the salt evenly.
Step 4: Wrap in Foil
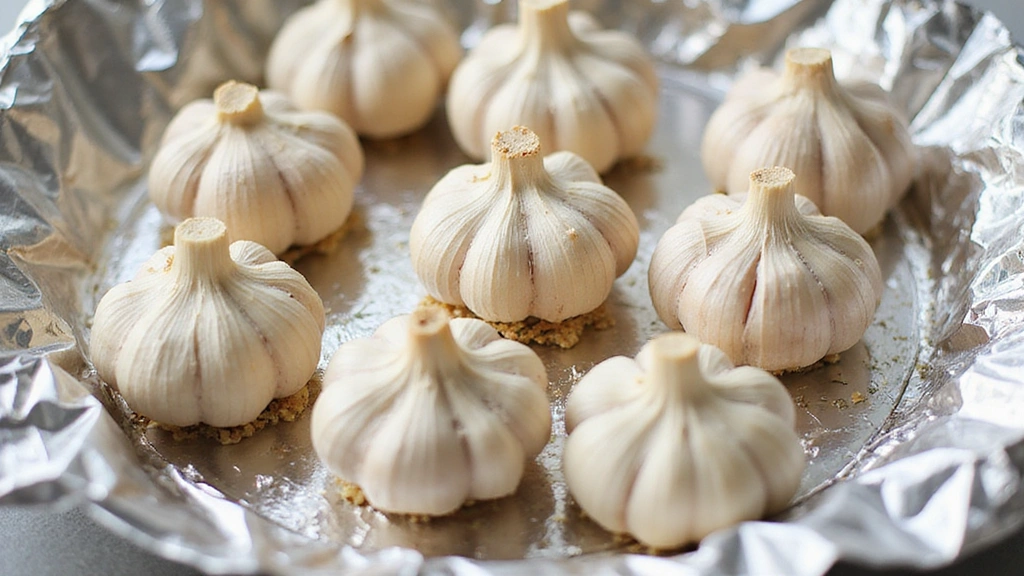
Tear off a large piece of aluminum foil for each garlic head.
Wrap each head tightly, ensuring no openings.
The foil should form a sealed packet around each garlic head.
Fold edges securely to trap steam and heat inside.
Step 5: Preheat the Oven
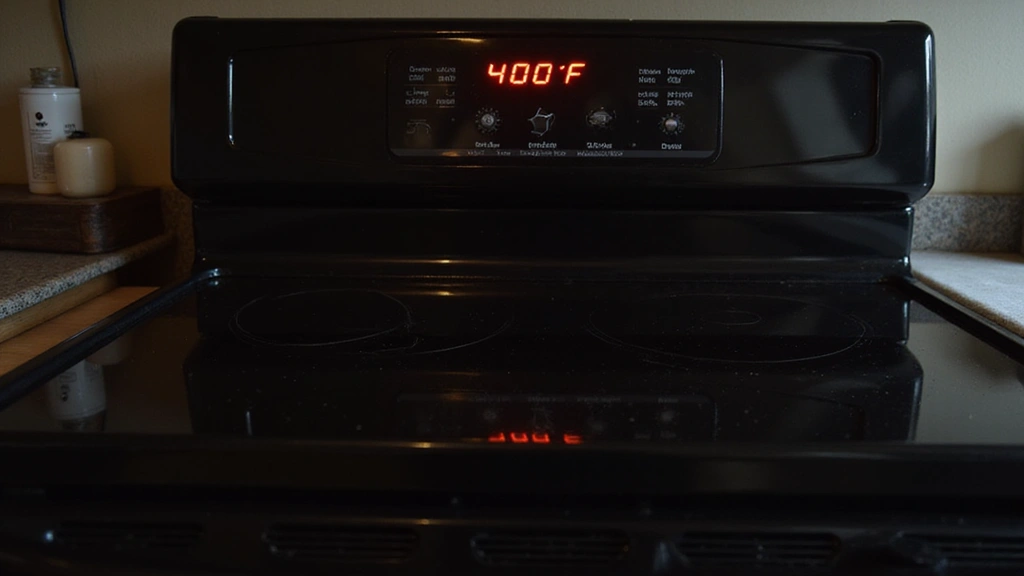
Preheat your oven to 400°F (205°C).
Ensure the oven reaches the correct temperature before placing garlic inside.
This ensures even roasting and caramelization.
Use an oven thermometer for accuracy if necessary.
Step 6: Roast the Garlic
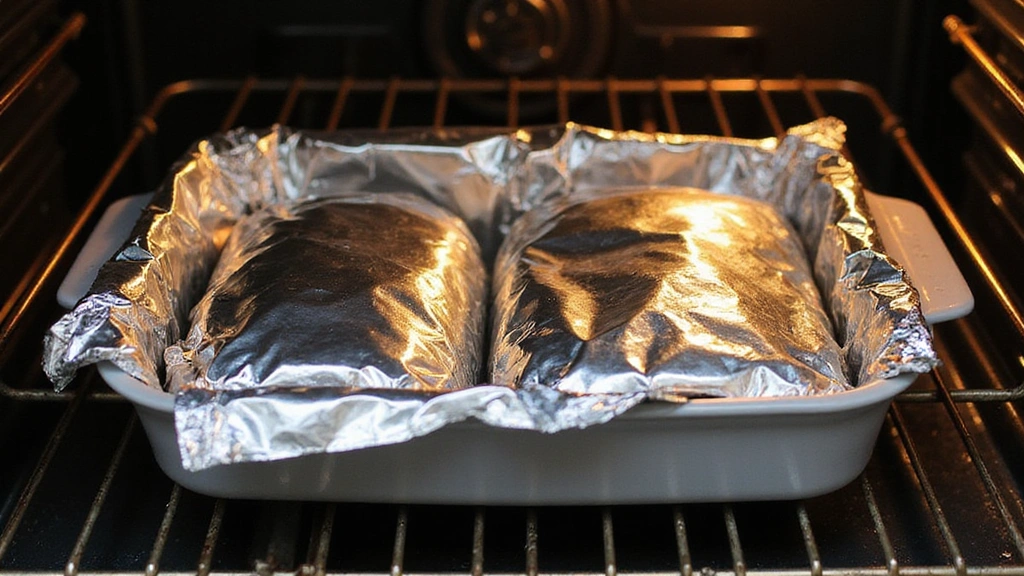
Place the foil-wrapped garlic heads in the preheated oven.
Roast for 40-45 minutes until cloves are golden brown and soft.
Check doneness by carefully unwrapping one packet and piercing a clove with a fork.
It should be tender and easily mashable.
Step 7: Cool and Unwrap
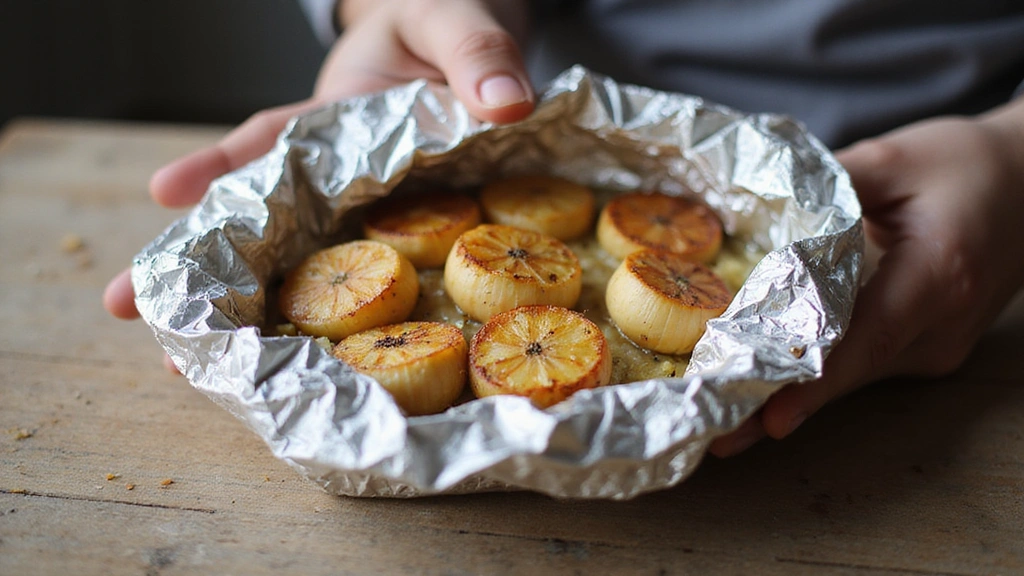
Remove the garlic from the oven and let it cool slightly.
Unwrap the foil carefully to avoid steam burns.
Allow the garlic to rest for a few minutes before handling.
This step ensures safety and easier handling.
Step 8: Serve or Store
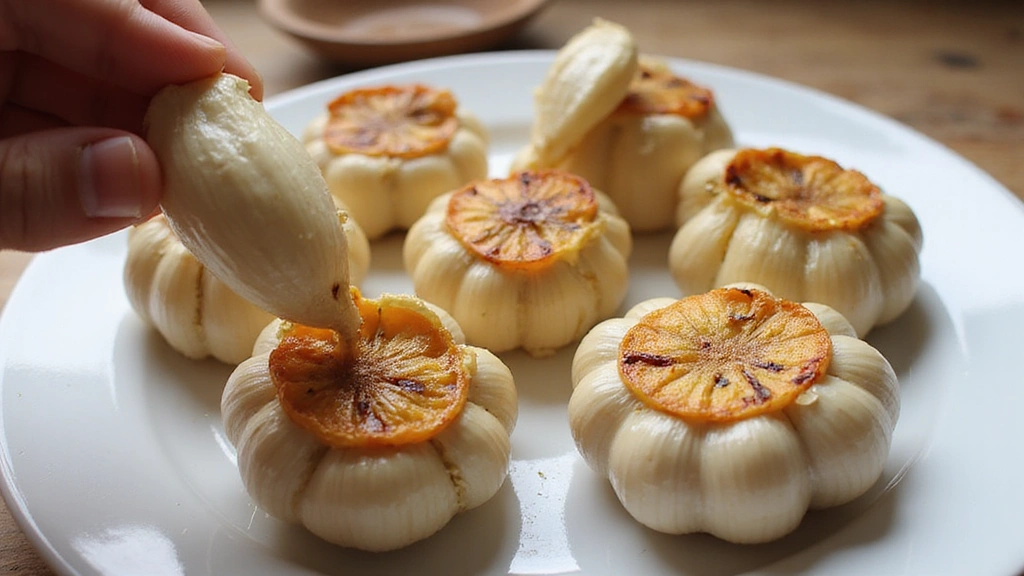
Squeeze the roasted garlic cloves out of their skins.
Use immediately as a spread or ingredient in recipes.
Alternatively, store in an airtight container in the fridge for up to a week.
Reheat gently if using later to preserve flavor.
Critical Timing and Temperature Guide
Garlic Roasting: Roast at 400°F (205°C) for 40-45 minutes; garlic should be golden brown and soft, avoid exceeding time to prevent bitterness.
Oil Drizzling: Drizzle just enough oil to coat without pooling; too much oil leads to greasy cloves.
Cooling: Allow garlic to cool for at least 5 minutes before unwrapping to avoid steam burns and ensure easy handling.
Pro Tips for The Flavor Foundation
• Ingredient Selection: Choose fresh, plump garlic heads for the best flavor; avoid heads with soft spots or sprouting.
• Preparation Secret: Let garlic sit for 10 minutes after cutting to enhance flavor compounds before roasting.
• Temperature Management: Maintain a consistent oven temperature; fluctuations can lead to uneven roasting.
• Texture Enhancement: Use a fork to gently mash the cloves for a creamy texture without blending.
• Flavor Layering: Add herbs like rosemary or thyme to the foil packet for an aromatic infusion.
• Make-Ahead Strategies: Roast garlic in large batches and freeze in small portions for quick use; thaw in the fridge before use.
• Restaurant-Quality Finishing Touches: Drizzle a touch of balsamic reduction over roasted garlic before serving for added depth.
• Equipment Optimization: Use a toaster oven for roasting smaller quantities efficiently.
Troubleshooting Common Issues
• Garlic Burnt: Over-roasting or high temperatures cause burning; monitor closely and check early for doneness.
• Cloves Too Firm: Insufficient roasting time results in firm cloves; extend time by 5-minute increments and check texture.
• Oil Pooling: Excessive oil use leads to pooling; reduce quantity to just coat the cloves lightly.
• Bitterness: Overcooked garlic becomes bitter; remove from oven once golden brown and soft.
• Foil Tearing: Rough handling can tear foil; wrap gently and securely to ensure a proper seal.
Variations and Regional Differences
• Italian Style: Incorporates rosemary and thyme in the roasting packet for an herbal aroma, often used in pasta dishes.
• French Provençal: Adds anchovy fillets and capers to the roasting packet for a savory depth, served with crusty bread.
• Spanish Influence: Includes smoked paprika and sherry vinegar for a smoky, tangy twist, paired with tapas.
• Middle Eastern Variation: Features za'atar seasoning and lemon juice for a bright, earthy flavor, used in hummus.
Food Science Behind the Recipe
• Maillard Reaction: This reaction occurs during roasting, caramelizing sugars and amino acids for a rich, sweet flavor.
• Enzyme Activation: Cutting garlic activates alliinase enzymes, which enhance flavor compounds like allicin.
• Moisture Retention: Foil wrapping traps steam, keeping garlic moist and preventing drying out during roasting.
Frequently Asked Questions
What's the most common mistake people make when preparing roasted garlic? Over-roasting the garlic, leading to burnt and bitter cloves; monitor closely and check for doneness early.
Can I use pre-peeled garlic for roasting? It's not recommended as the cloves can dry out easily; whole heads retain moisture and flavor better.
Is it necessary to use olive oil? Olive oil is preferred for its flavor and moisture retention, but other oils like avocado can be used as alternatives.
How can I tell if the garlic is done roasting? The cloves should be golden brown, soft, and easily mashable with a fork.
Can roasted garlic be frozen? Yes, roasted garlic can be frozen in airtight containers for up to three months; thaw in the fridge before use.
Why is my roasted garlic bitter? Bitterness can result from overcooking; remove from the oven once the cloves are soft and golden.
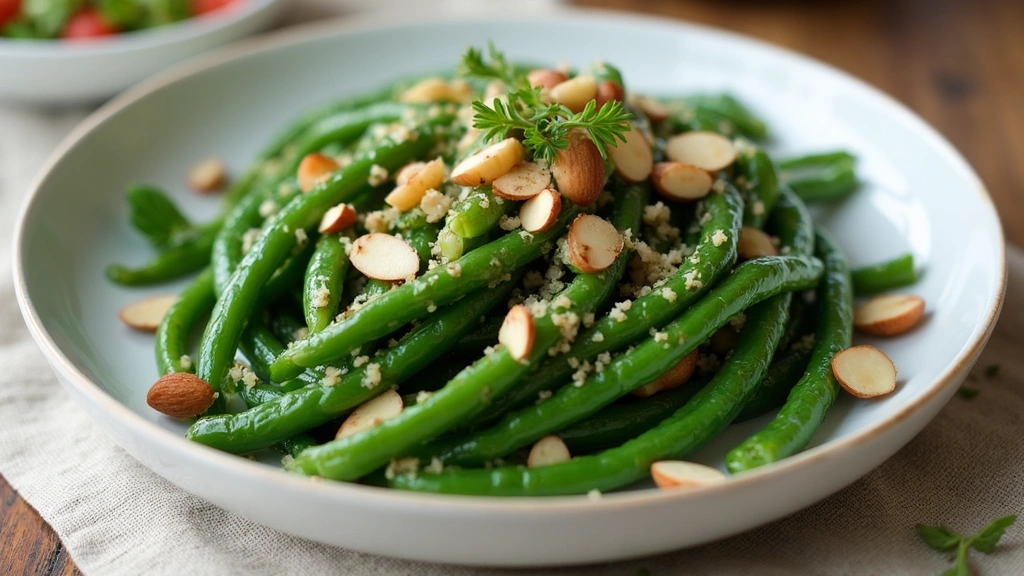
What dishes pair well with roasted garlic? Roasted garlic complements pasta, mashed potatoes, bread spreads, and roasted vegetables beautifully.
Serving and Presentation Guide
• Traditional Presentation: Serve roasted garlic alongside warm bread and a drizzle of olive oil as an appetizer.
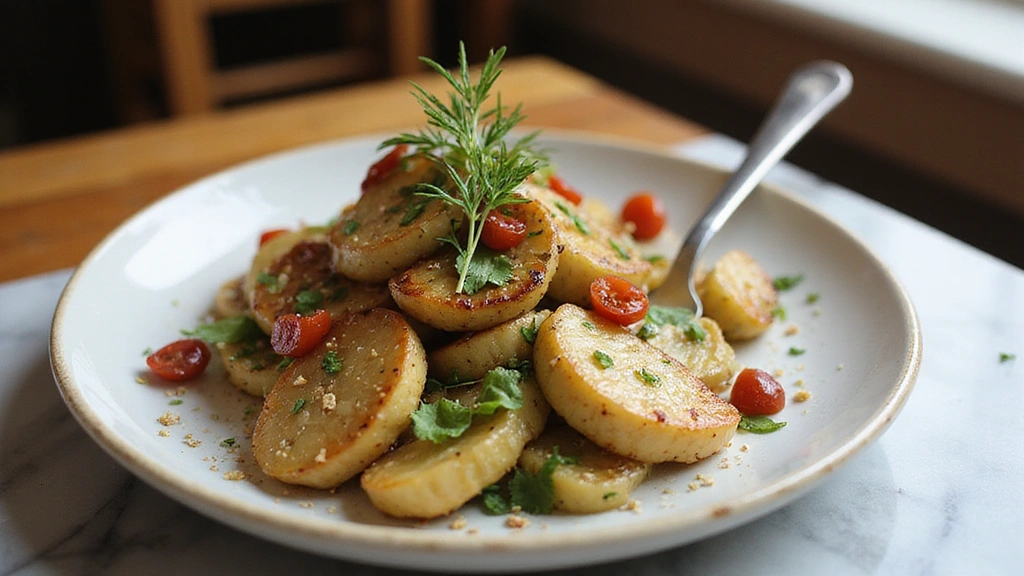
• Elegant Plating: Place roasted garlic cloves atop a bed of creamy mashed potatoes with a sprinkle of fresh herbs.
• Casual Gathering: Offer roasted garlic as part of a charcuterie board with cheeses, meats, and olives.
• Gourmet Touch: Use roasted garlic as a garnish for soups and stews, adding a burst of flavor and visual appeal.
Conclusion
Roasting garlic is an easy yet rewarding technique that enhances the flavor of countless dishes.
With this guide, you'll master the art of creating perfectly caramelized garlic every time.
Experiment with variations and enjoy the rich, sweet taste of roasted garlic in your culinary creations.